Sorry I was busy with other things over the last few days.
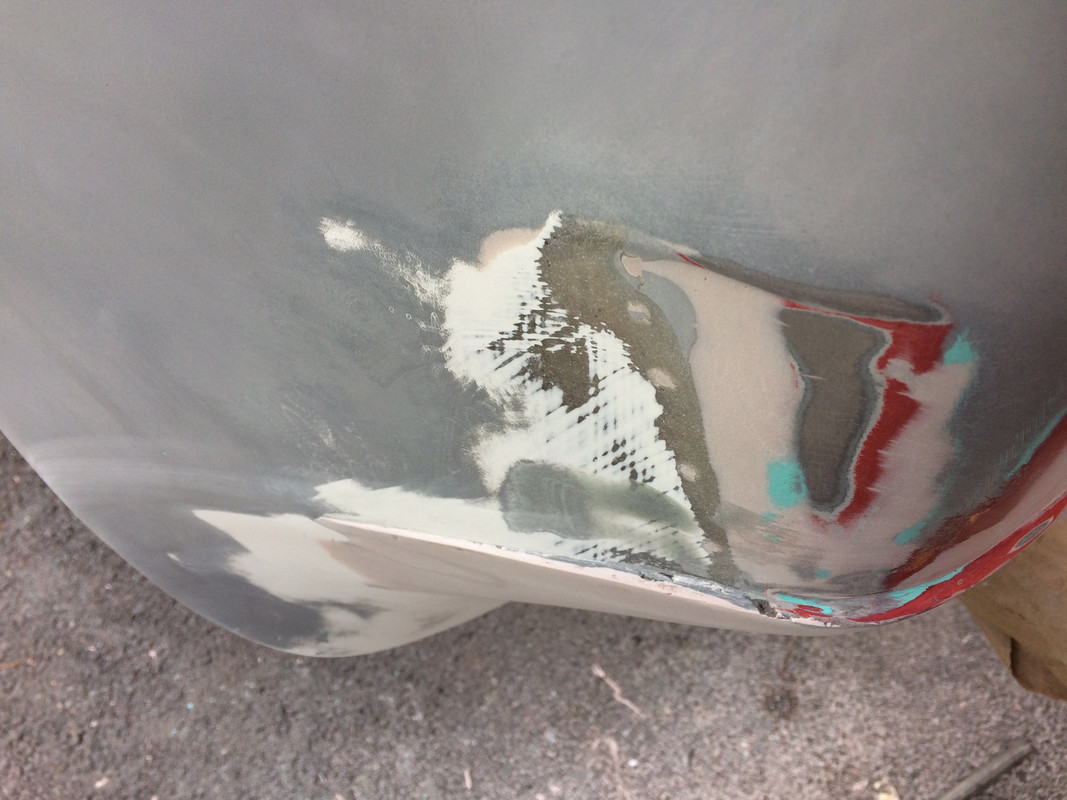
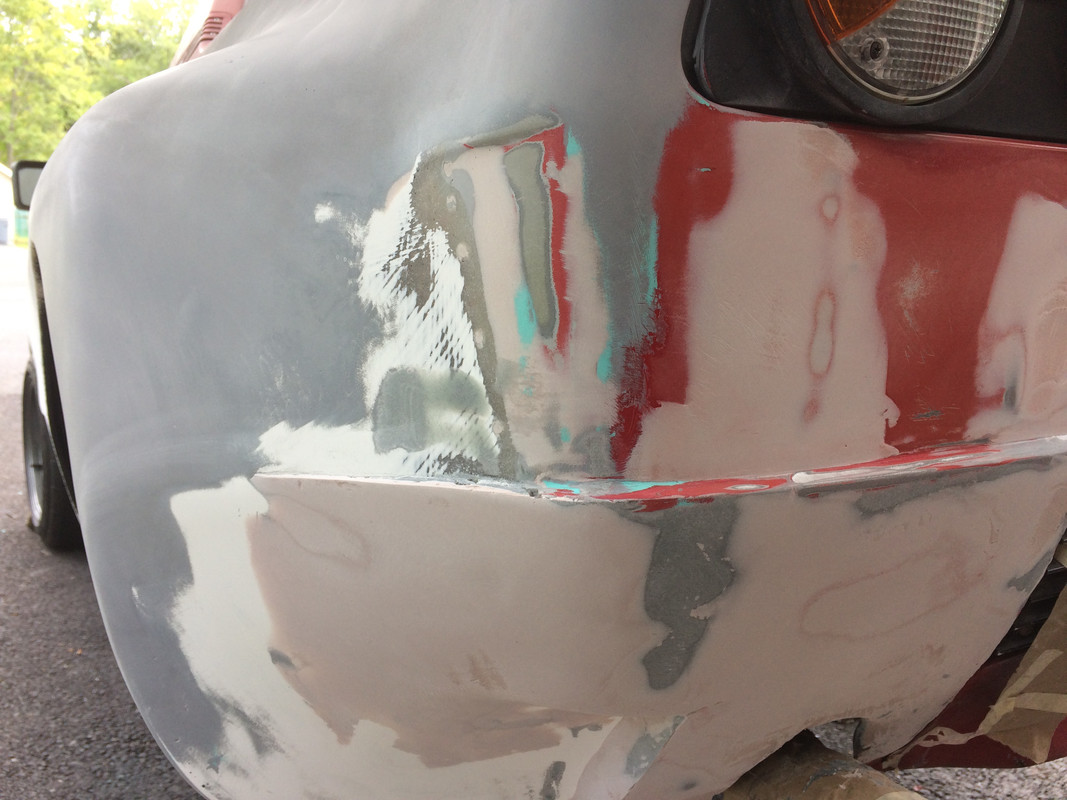
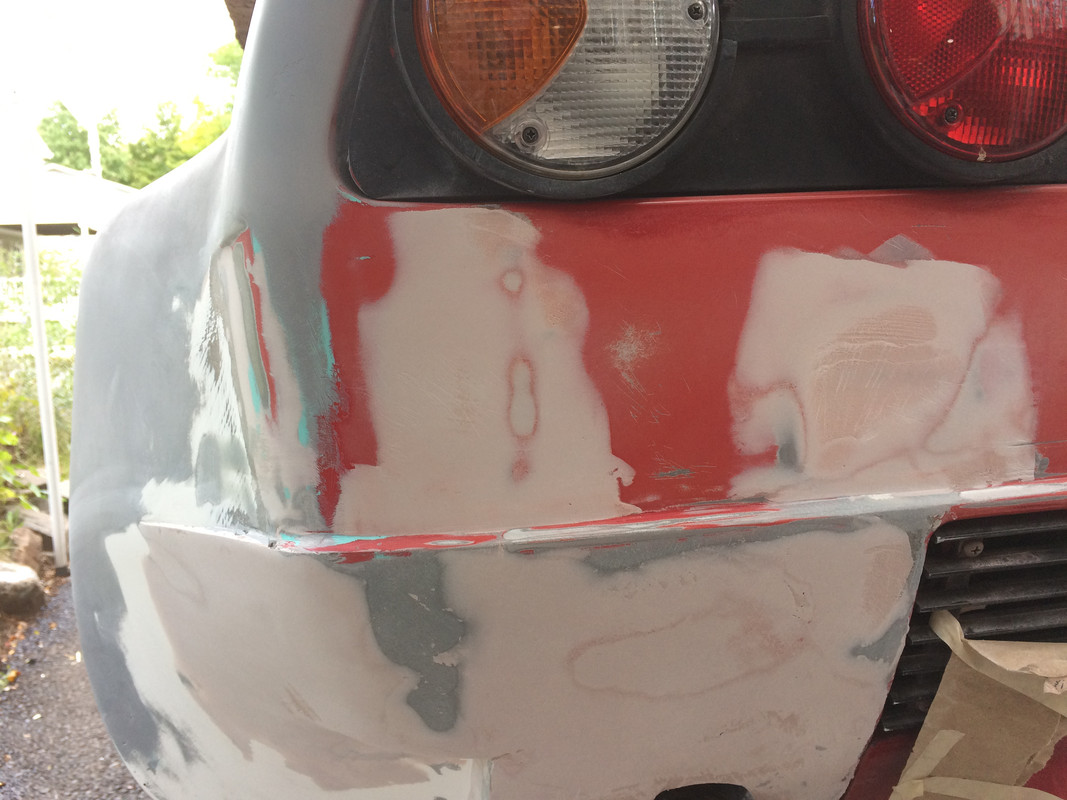
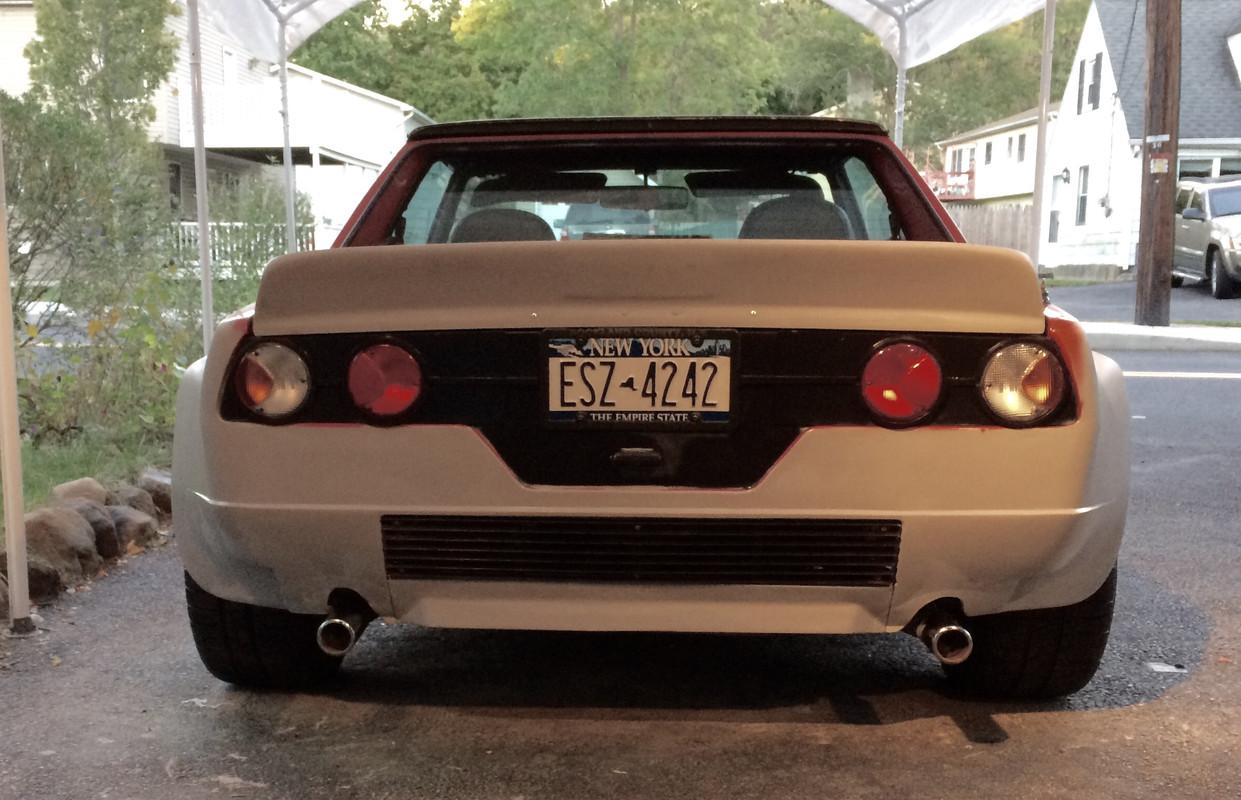
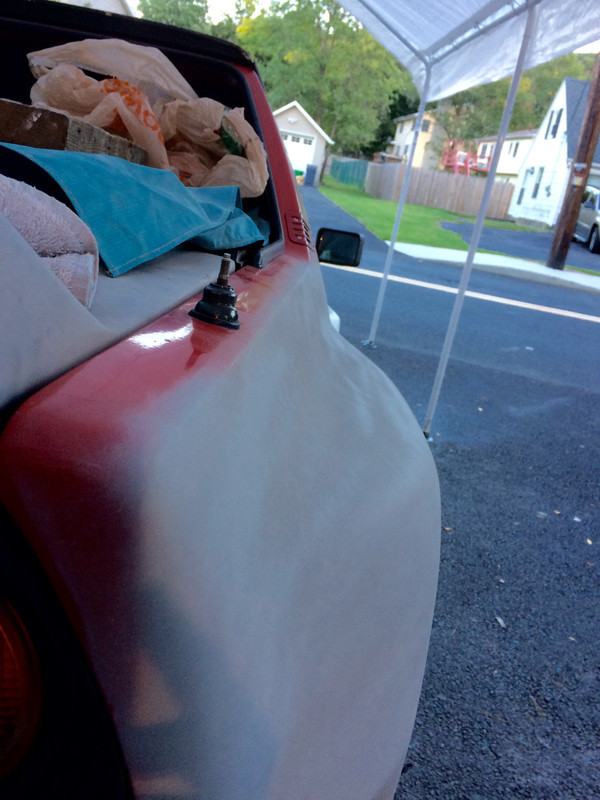
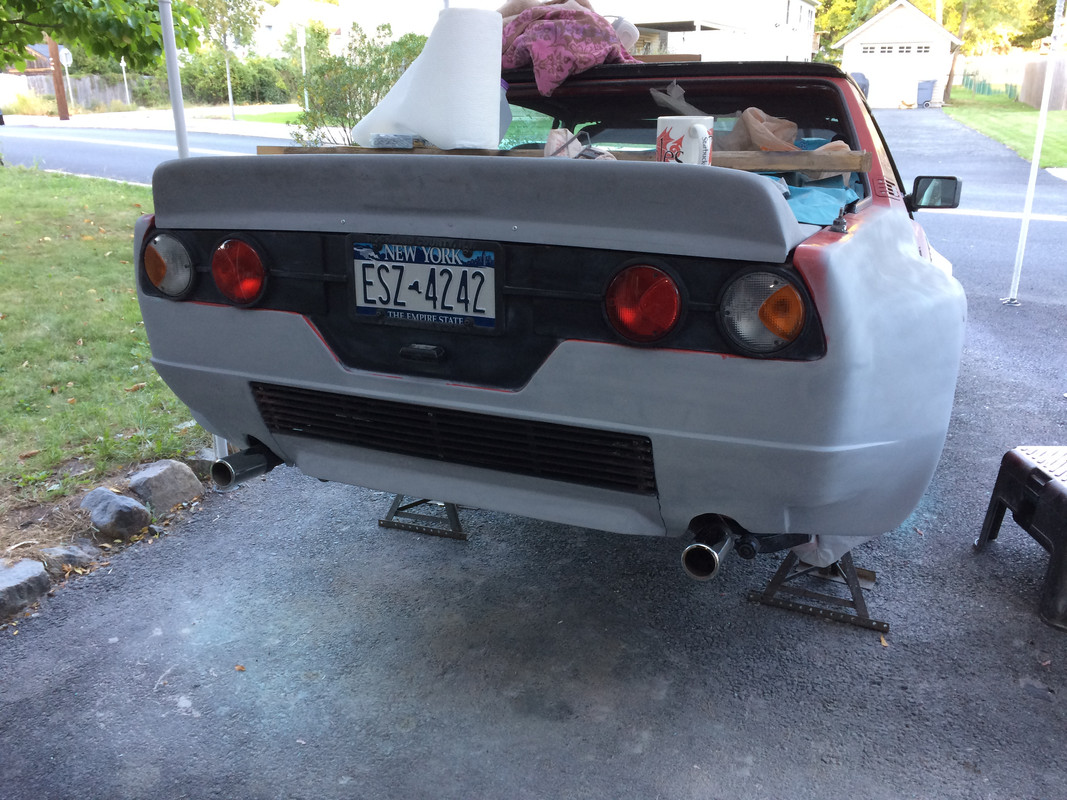
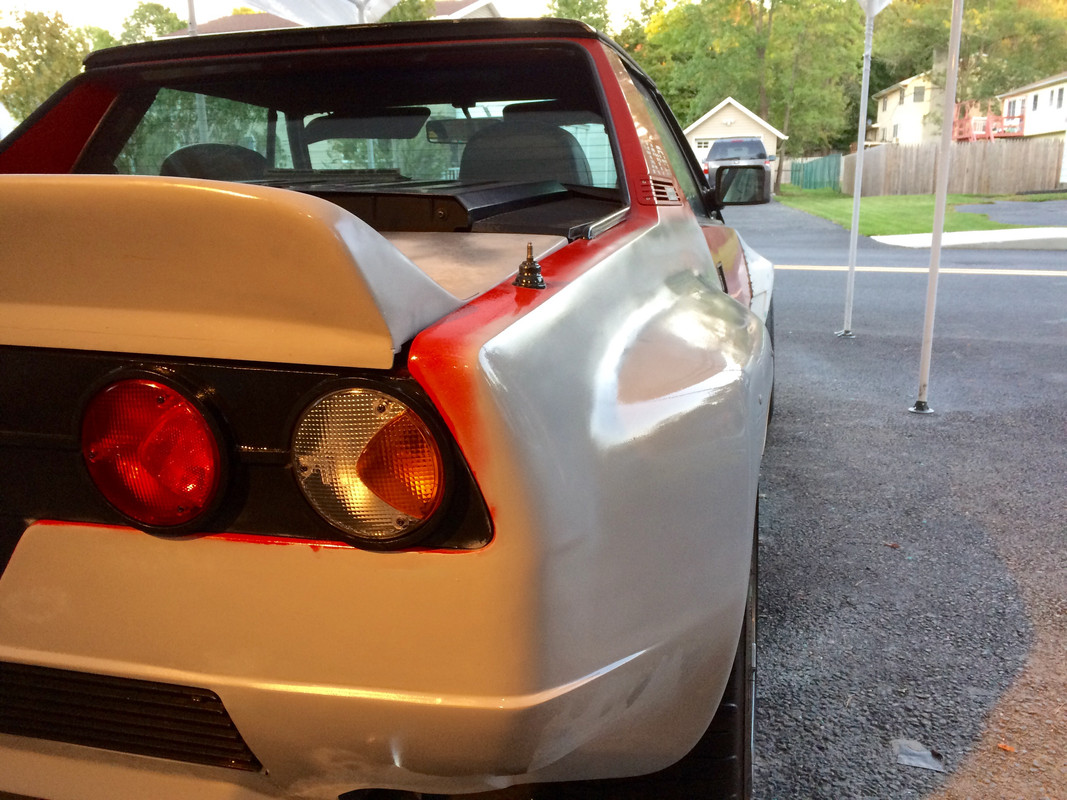
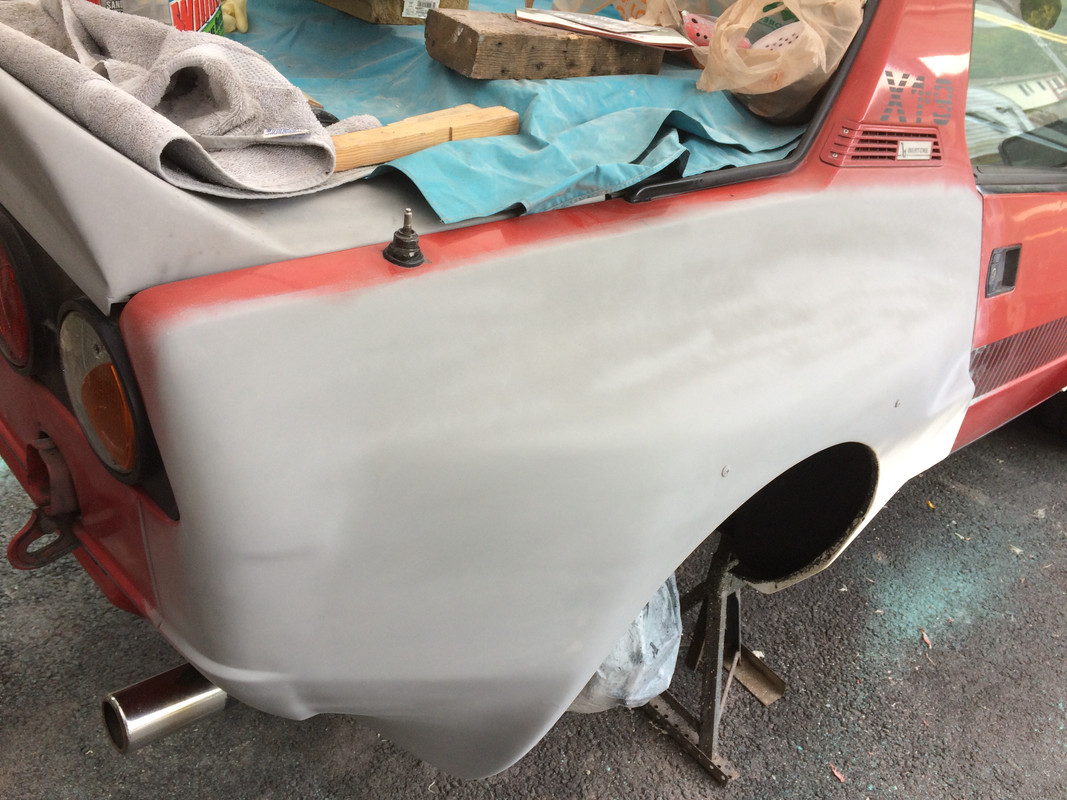
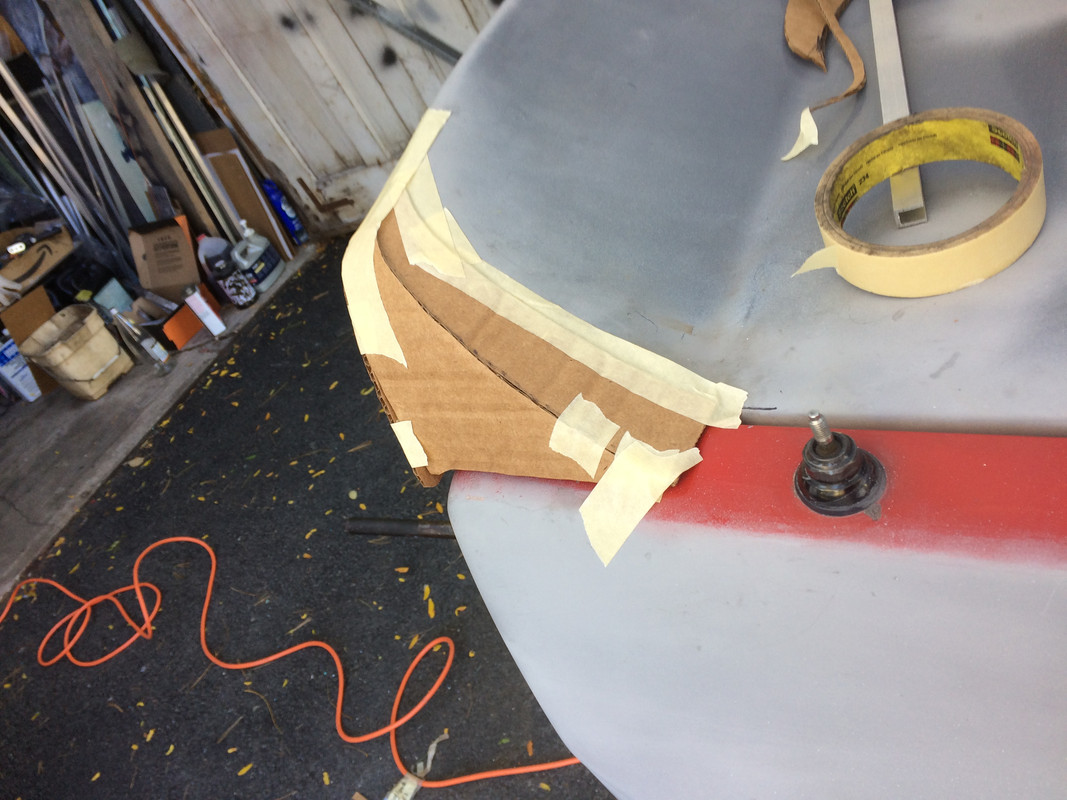
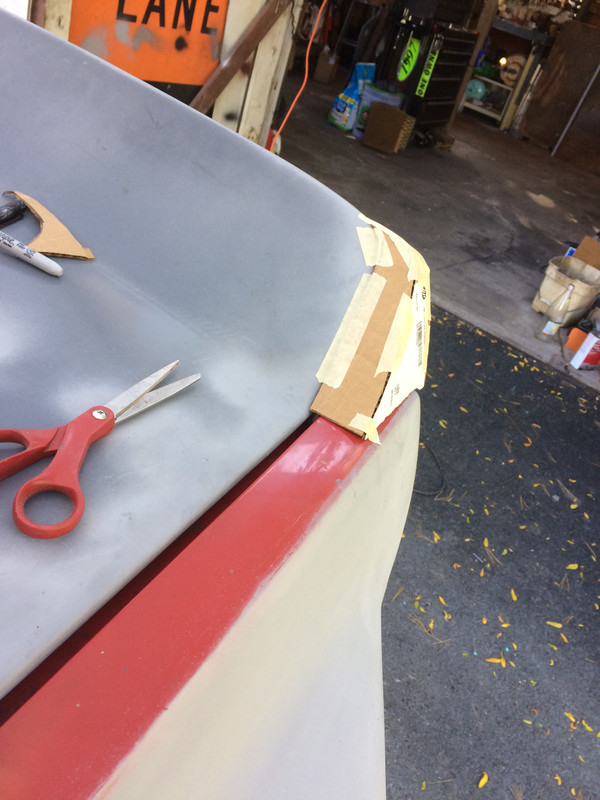
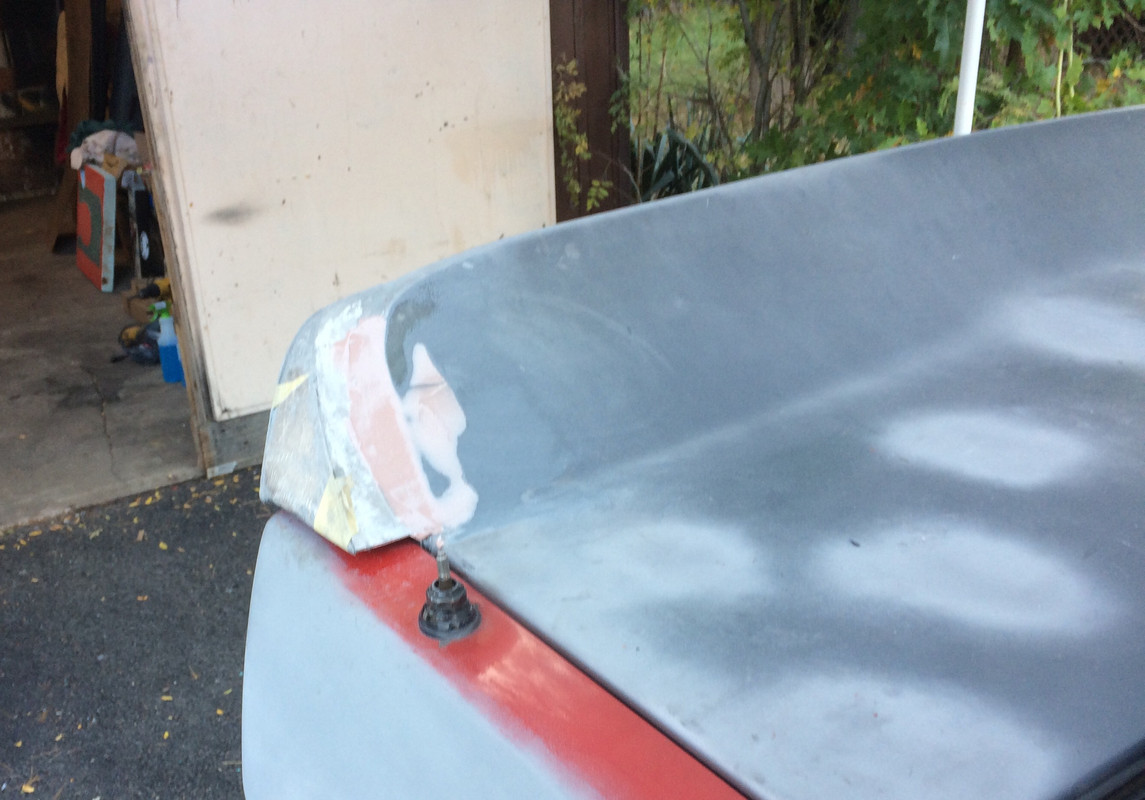
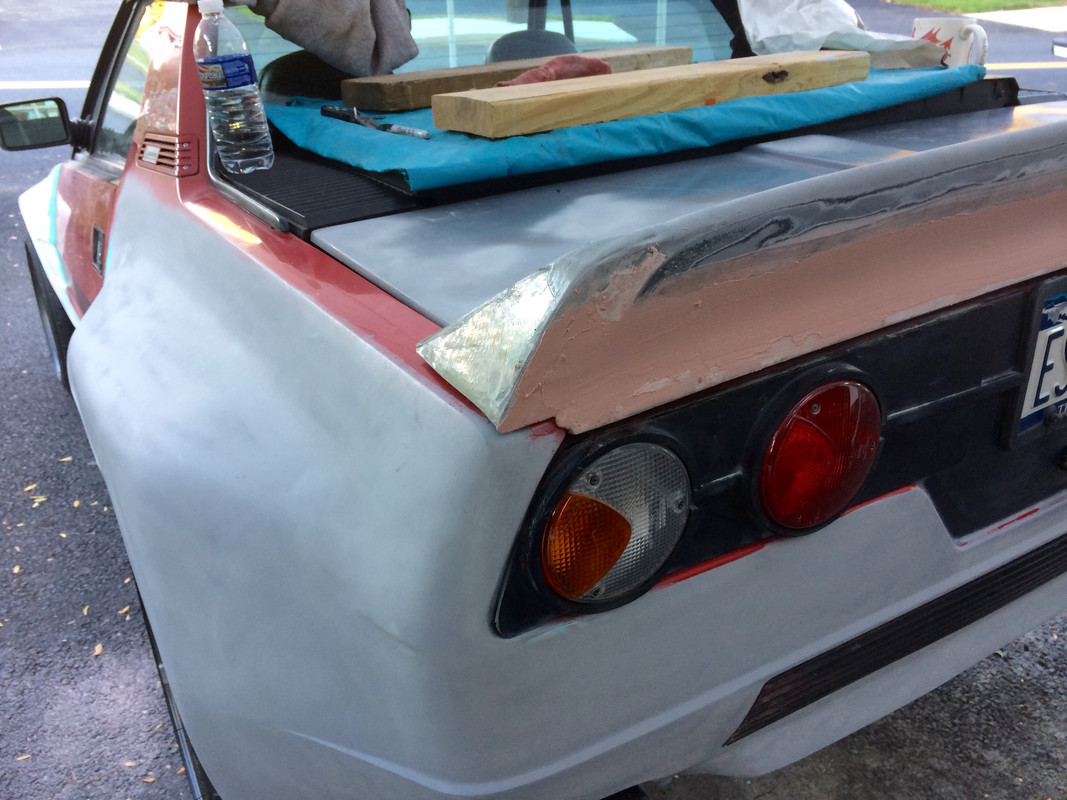
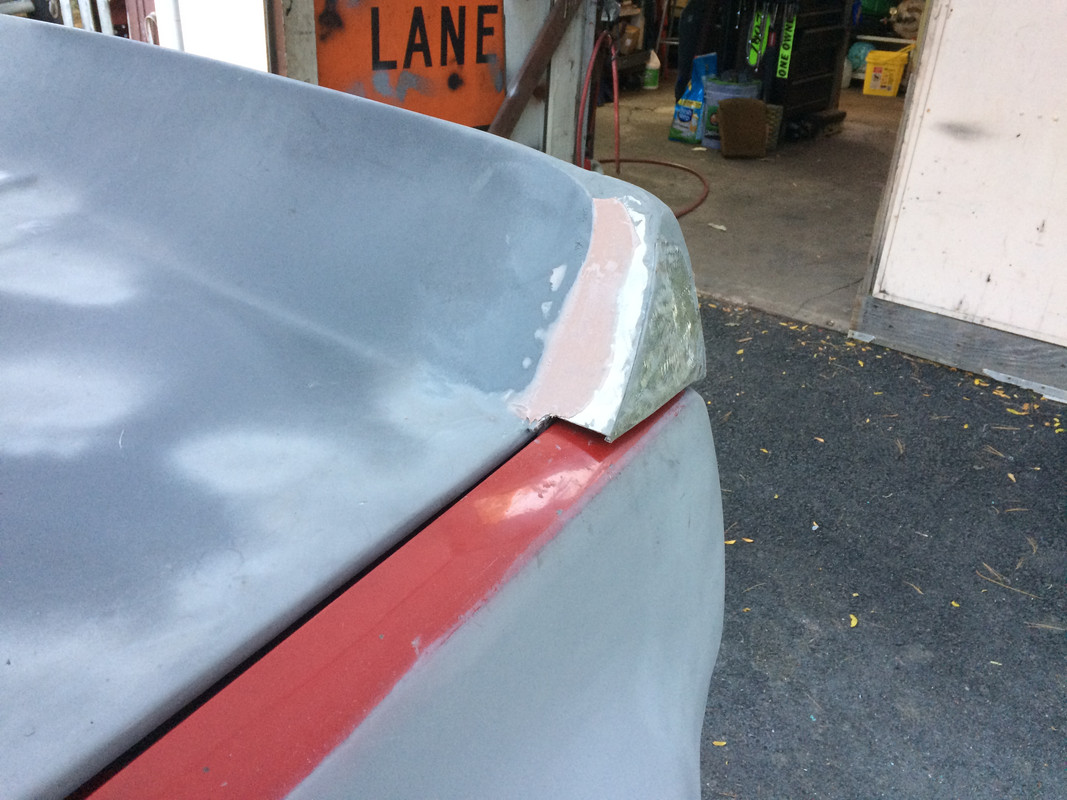
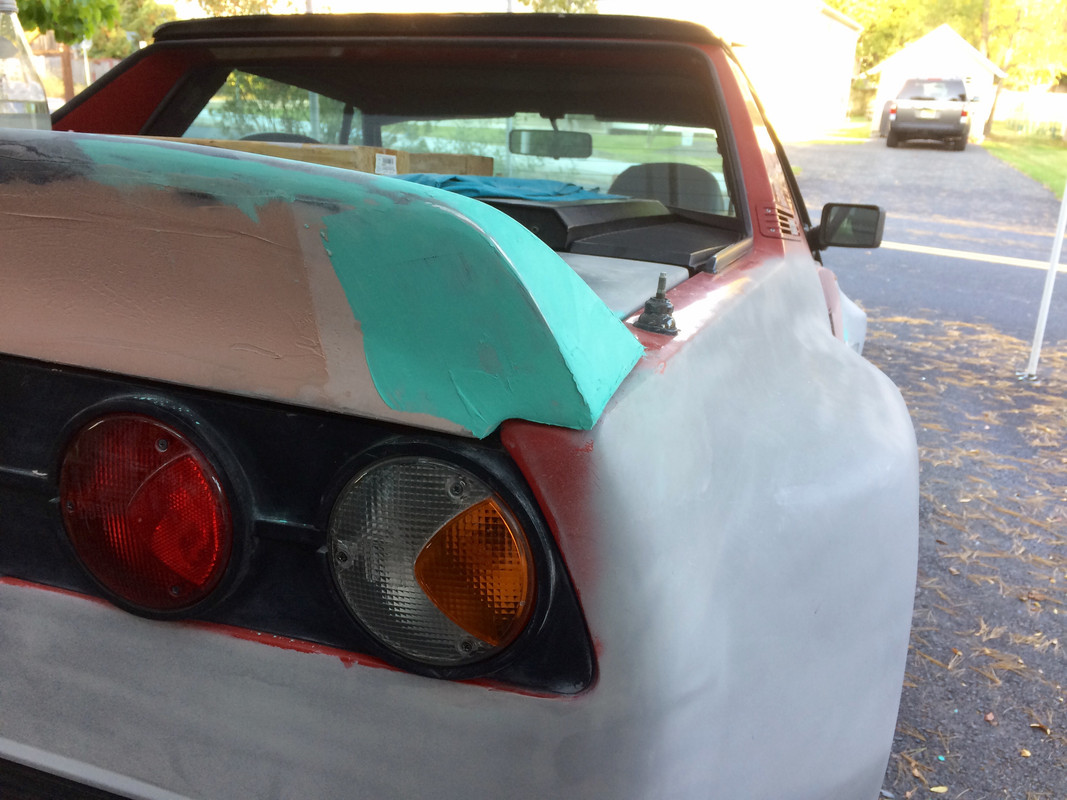
Very happy to see how you are proceeding, particularly in the area where the rear panel meets the new fender.
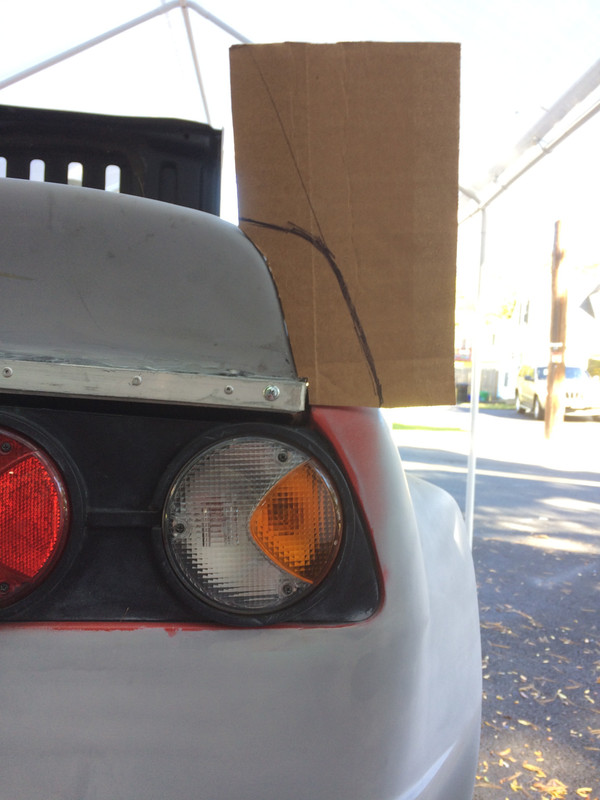
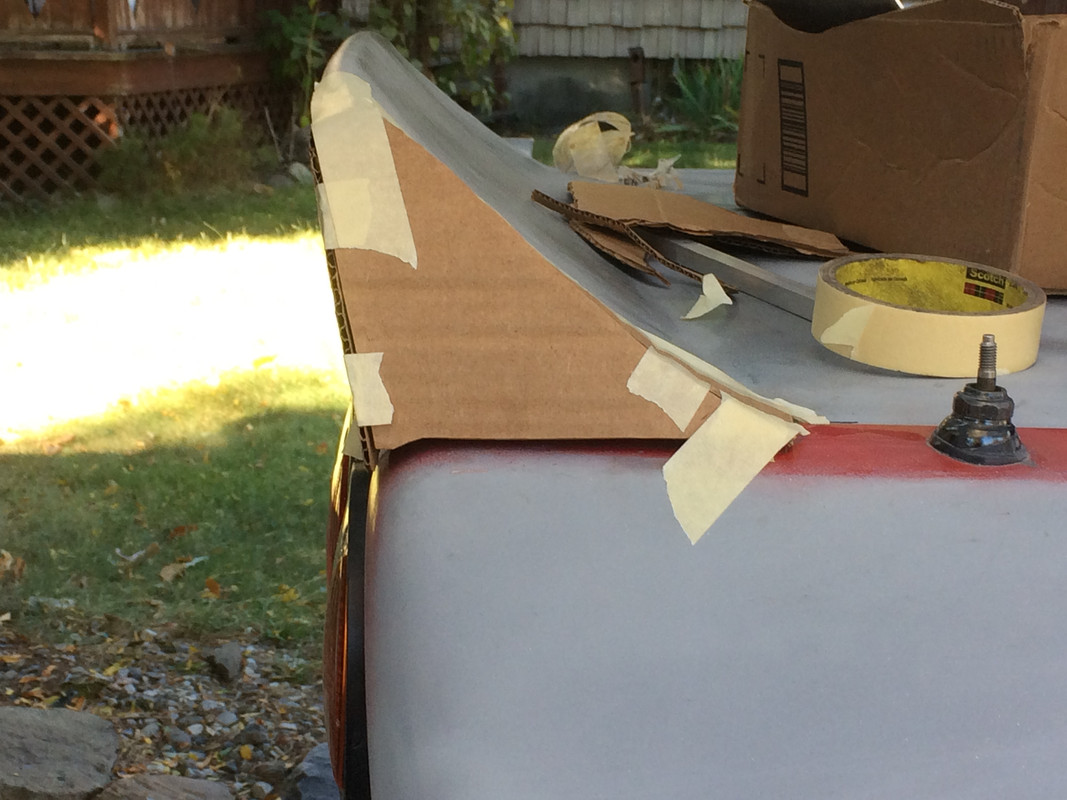
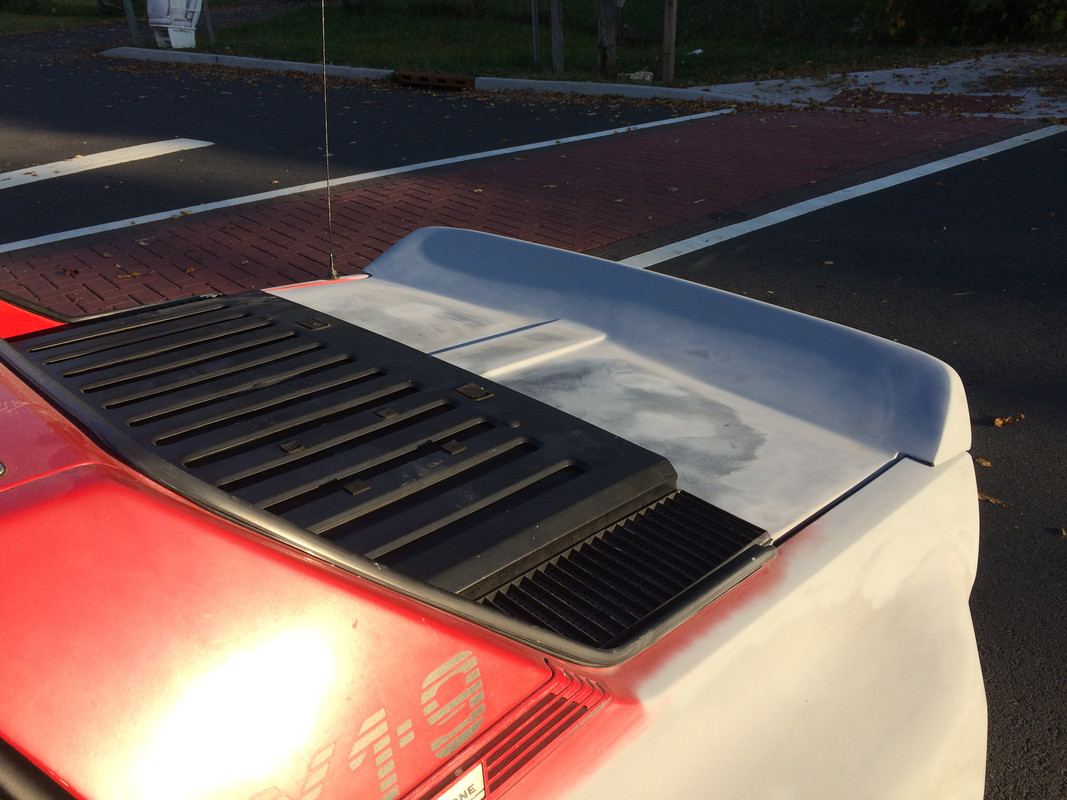
I would have left the gap of the rear panel rather than fill it in as I feel it defines the rear and cut lines make it clear the car was not molded out of one piece, but that's me. It also carries the line down from the rear deck to the base of the car in back.
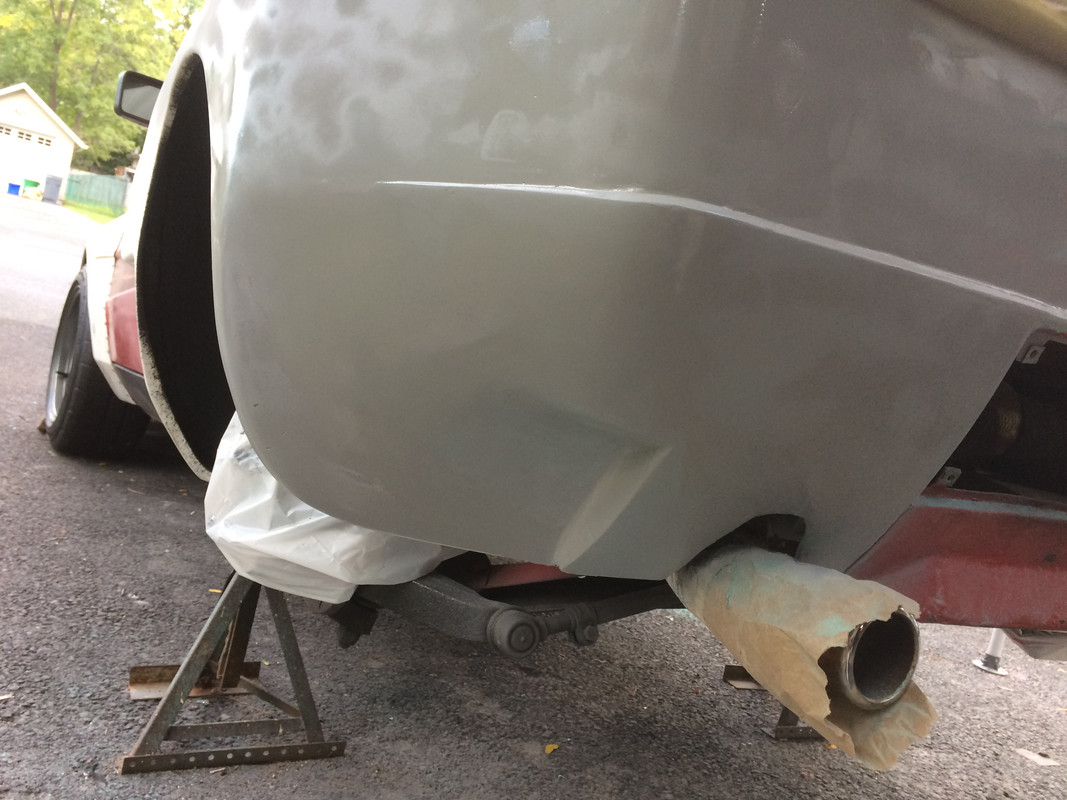
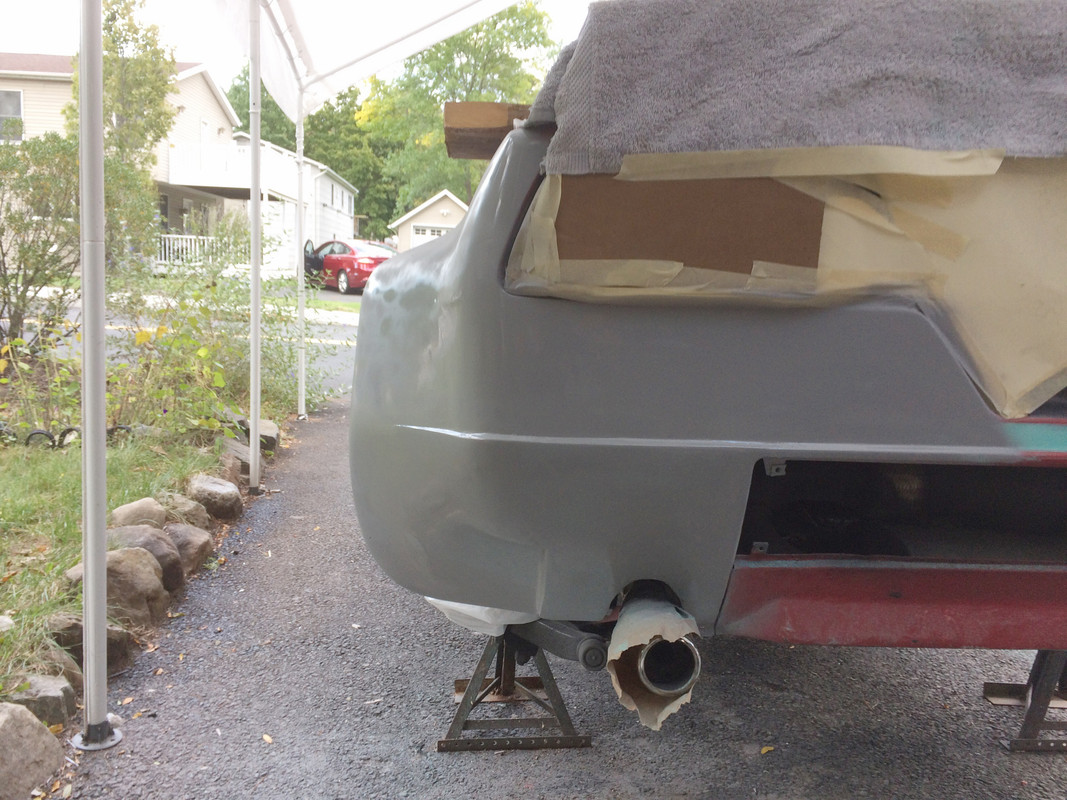
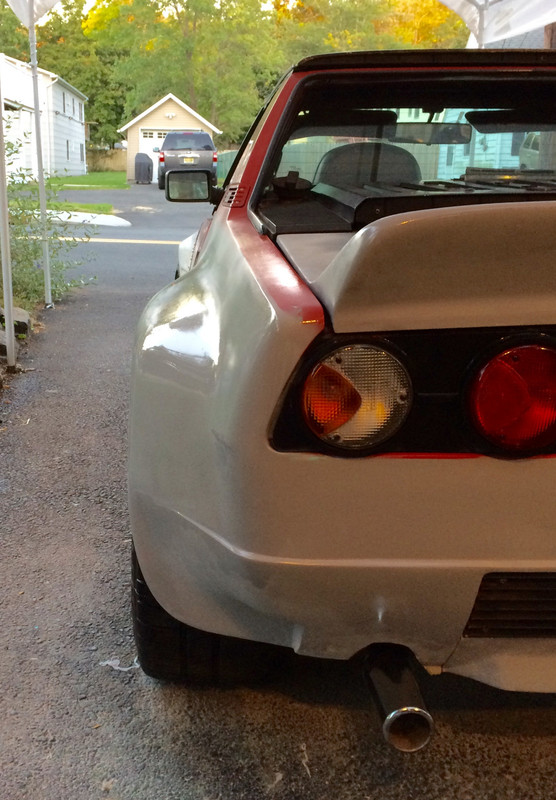
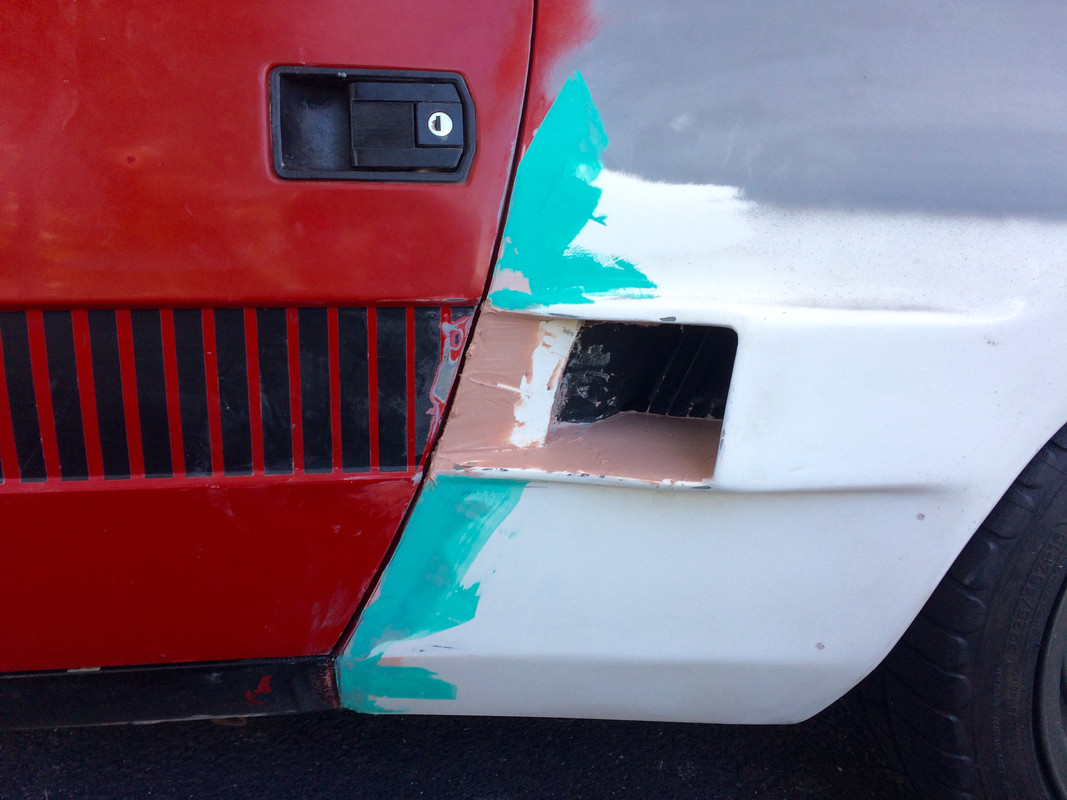
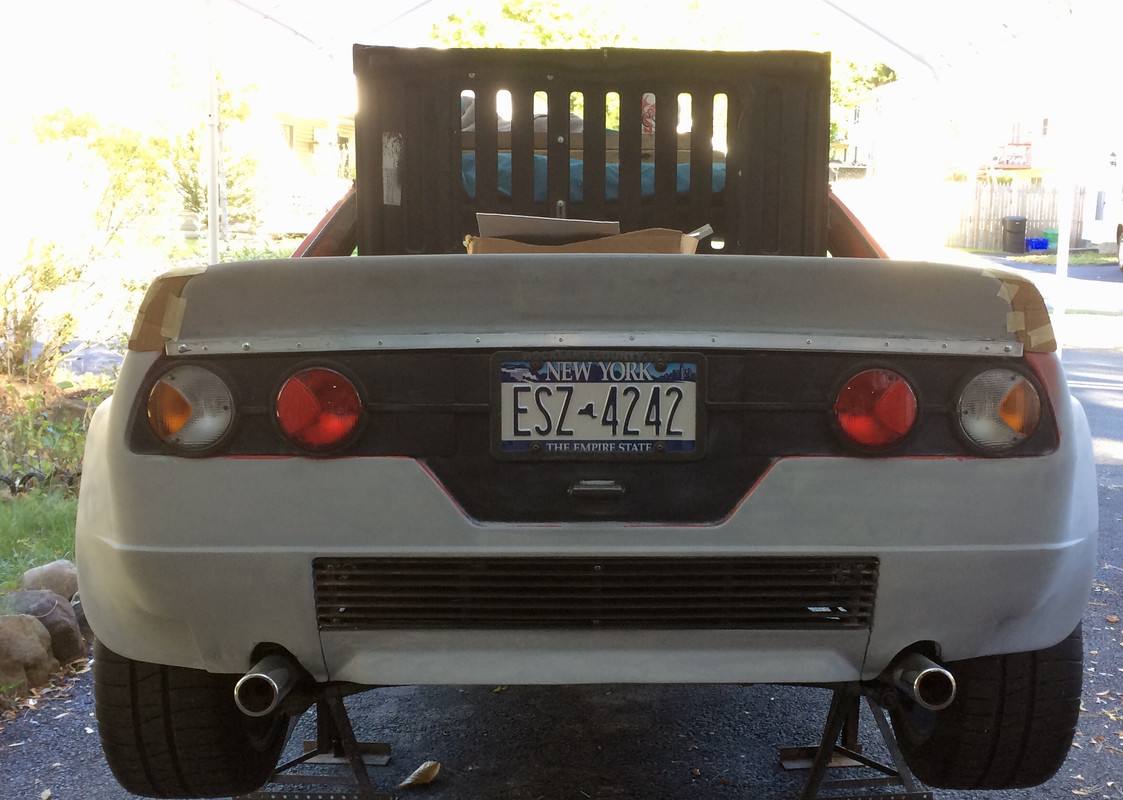
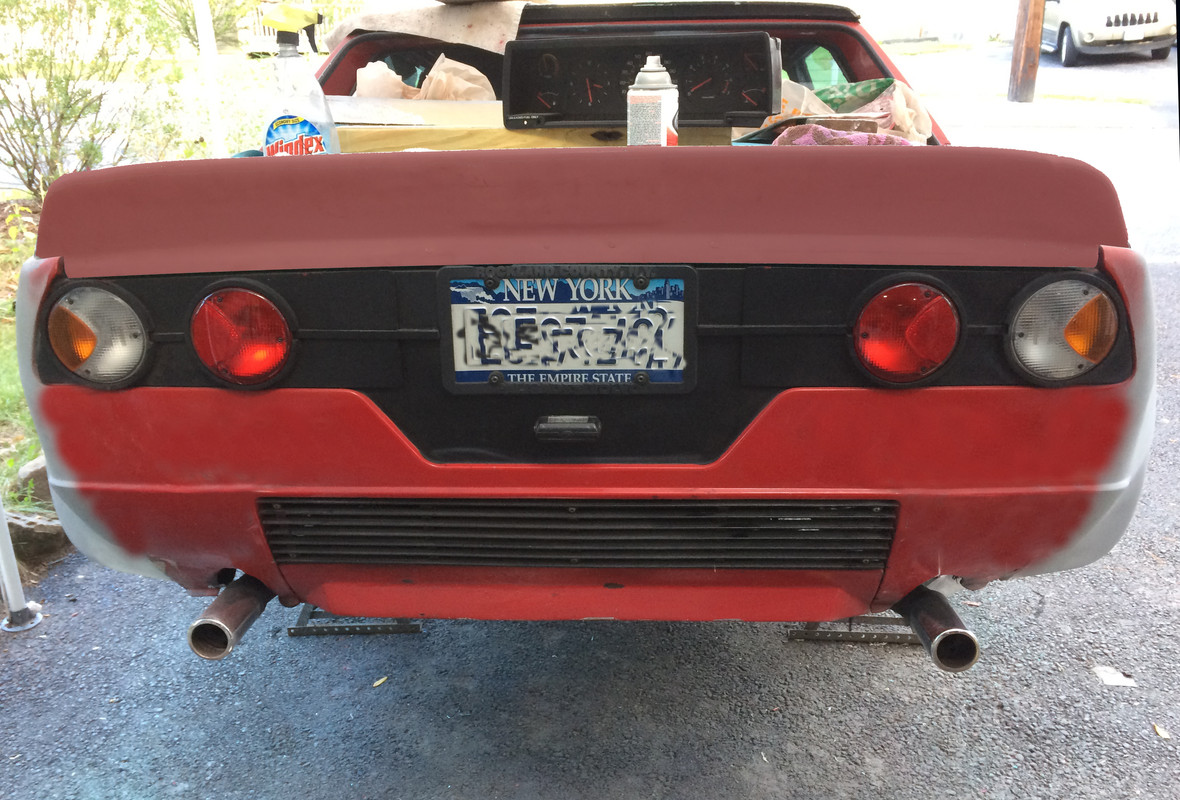
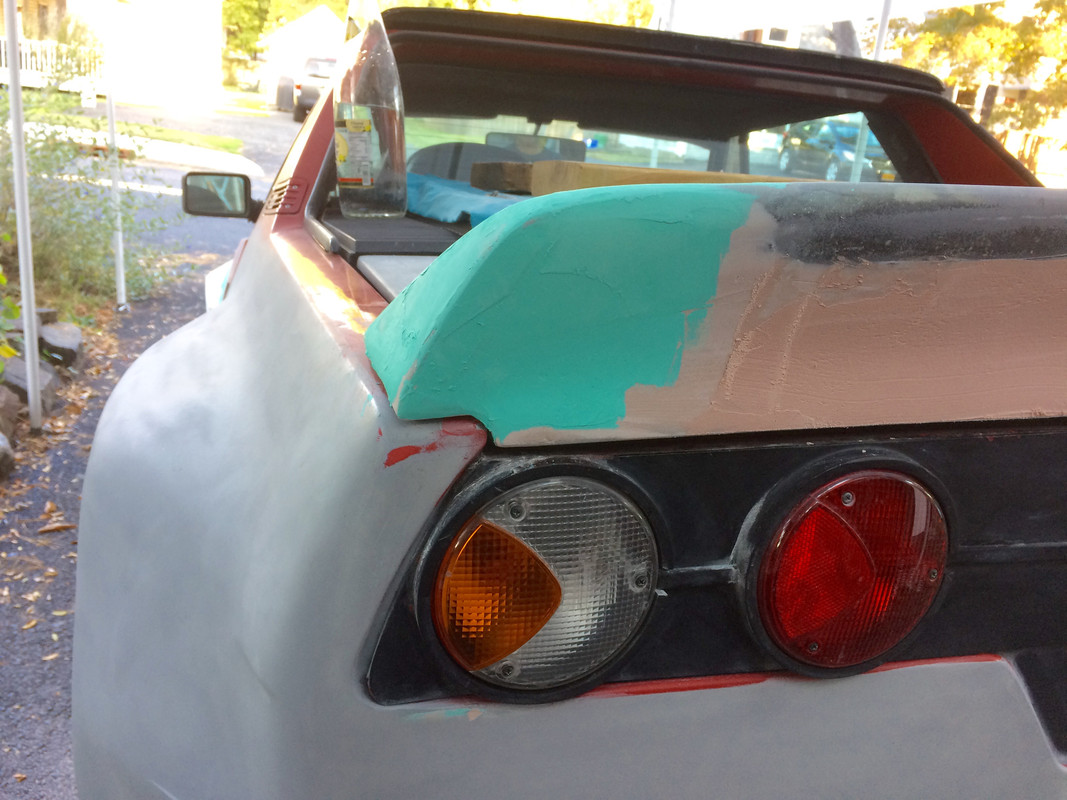
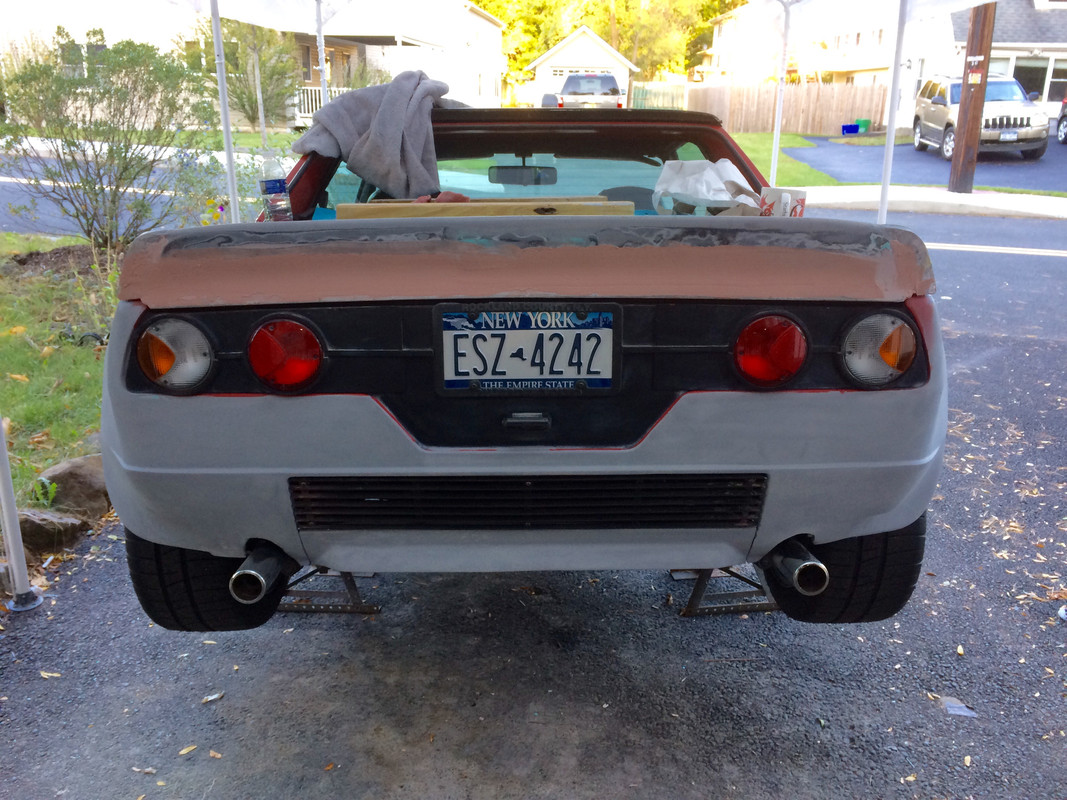
Perhaps revisit the area near the exhaust opening making it less hard edged to better match the other details of the car:
Looking great as always!

")