Preparing For Dallara Body Kit

Fair enough, well fingers crossed neither of us will have to put into practice either theory. Hopefully that isn't because neither of them see the road again either.

Indeed! :)

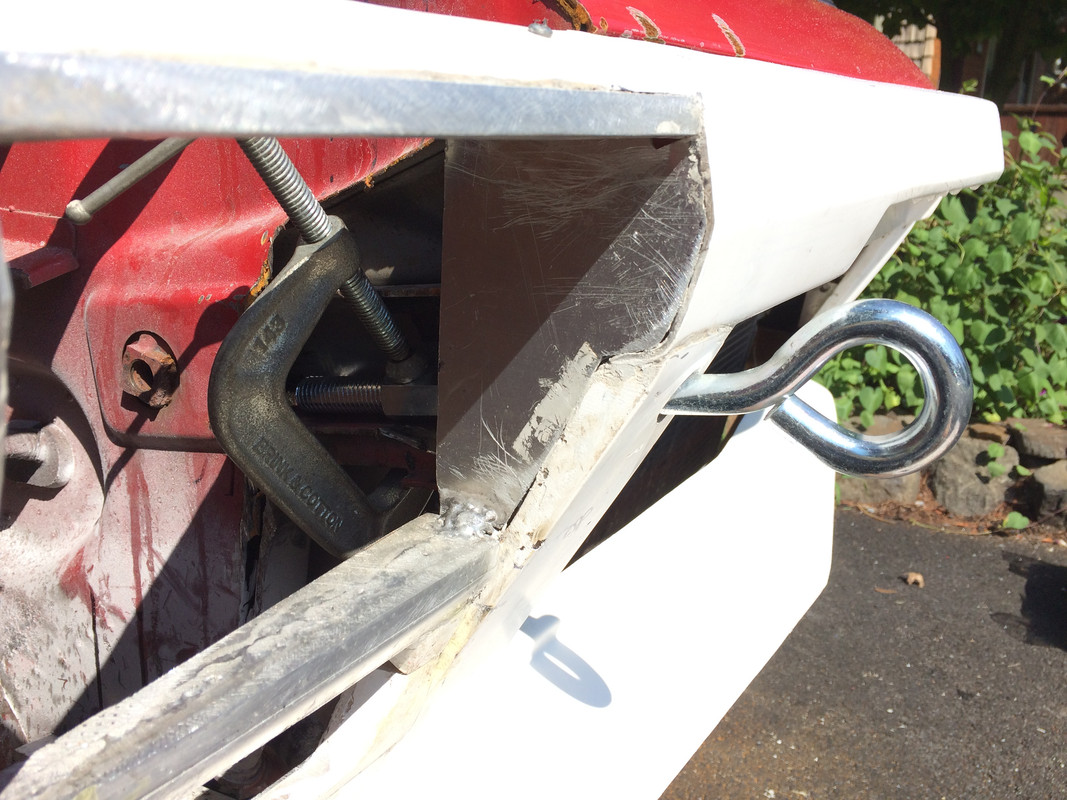
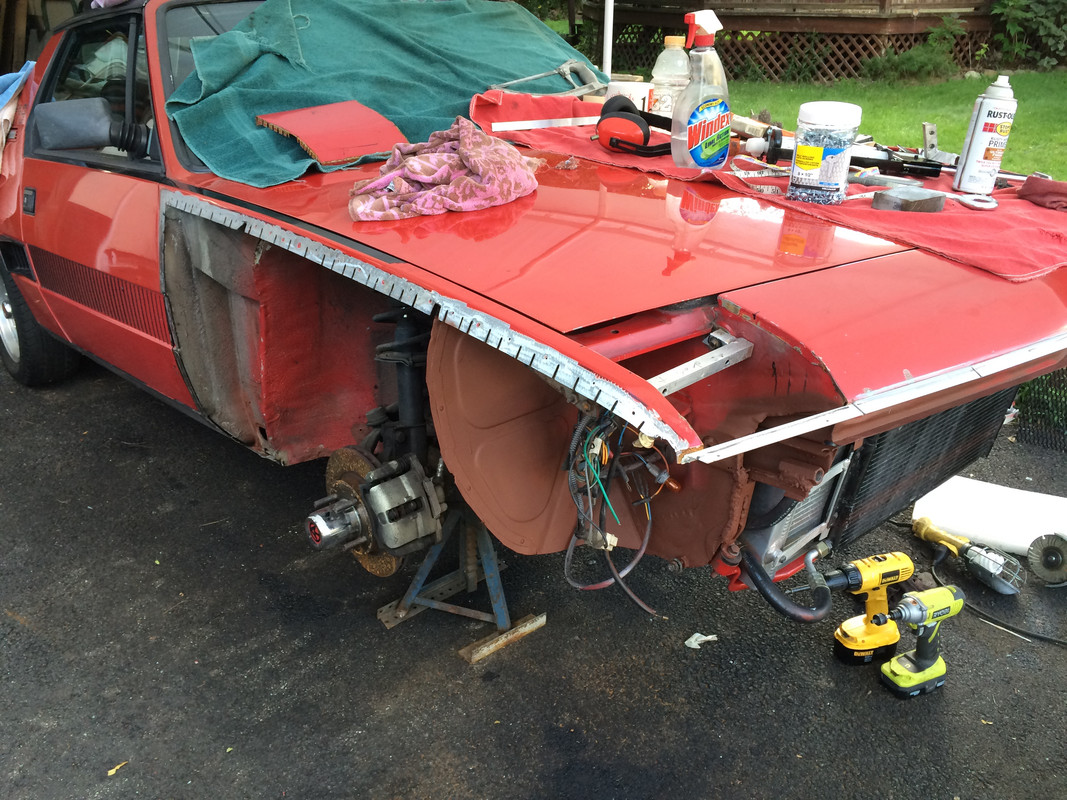
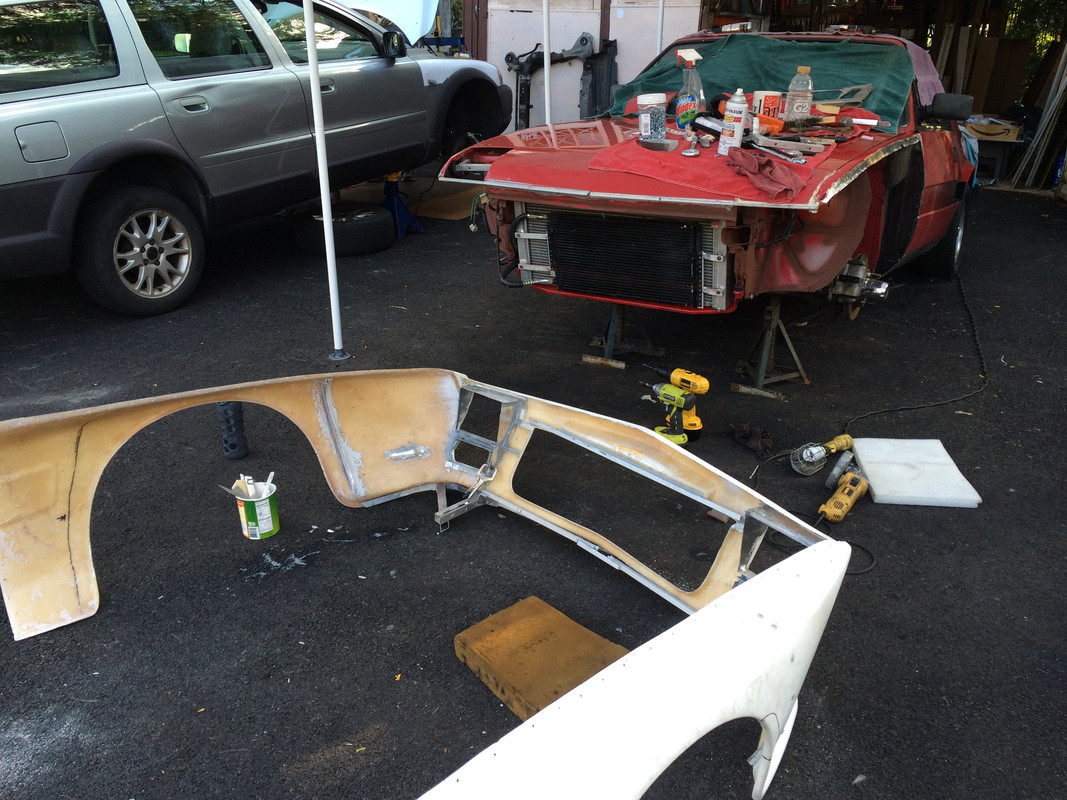
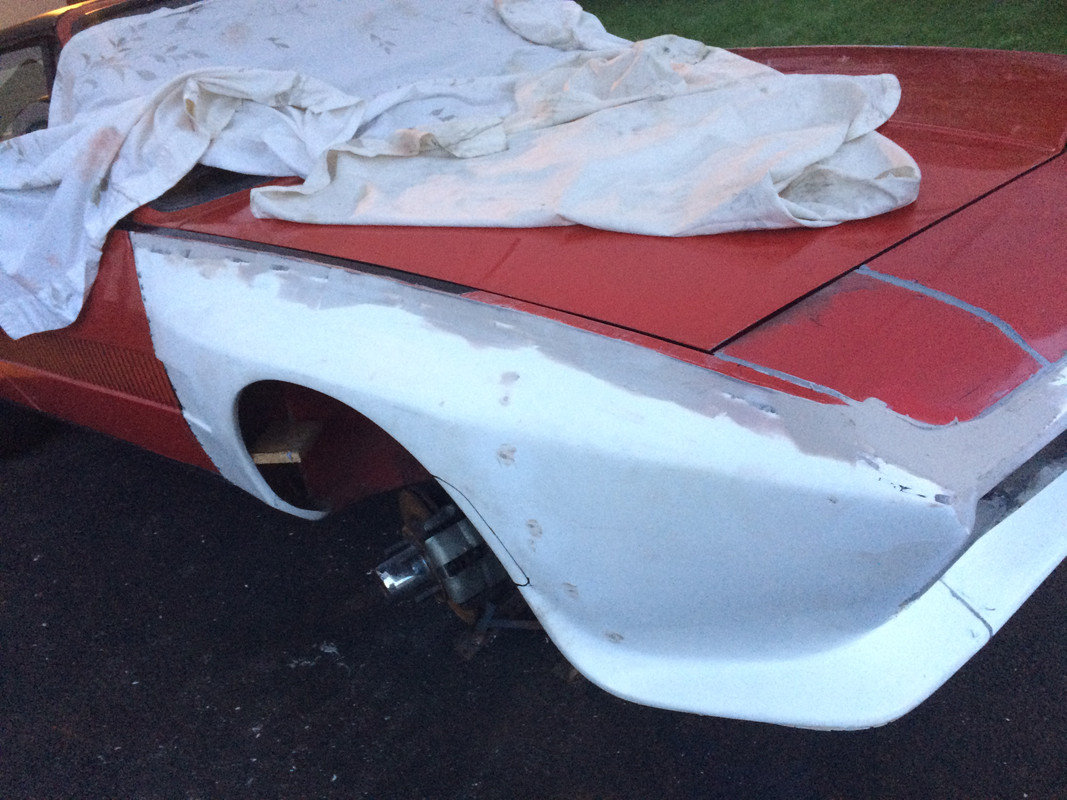
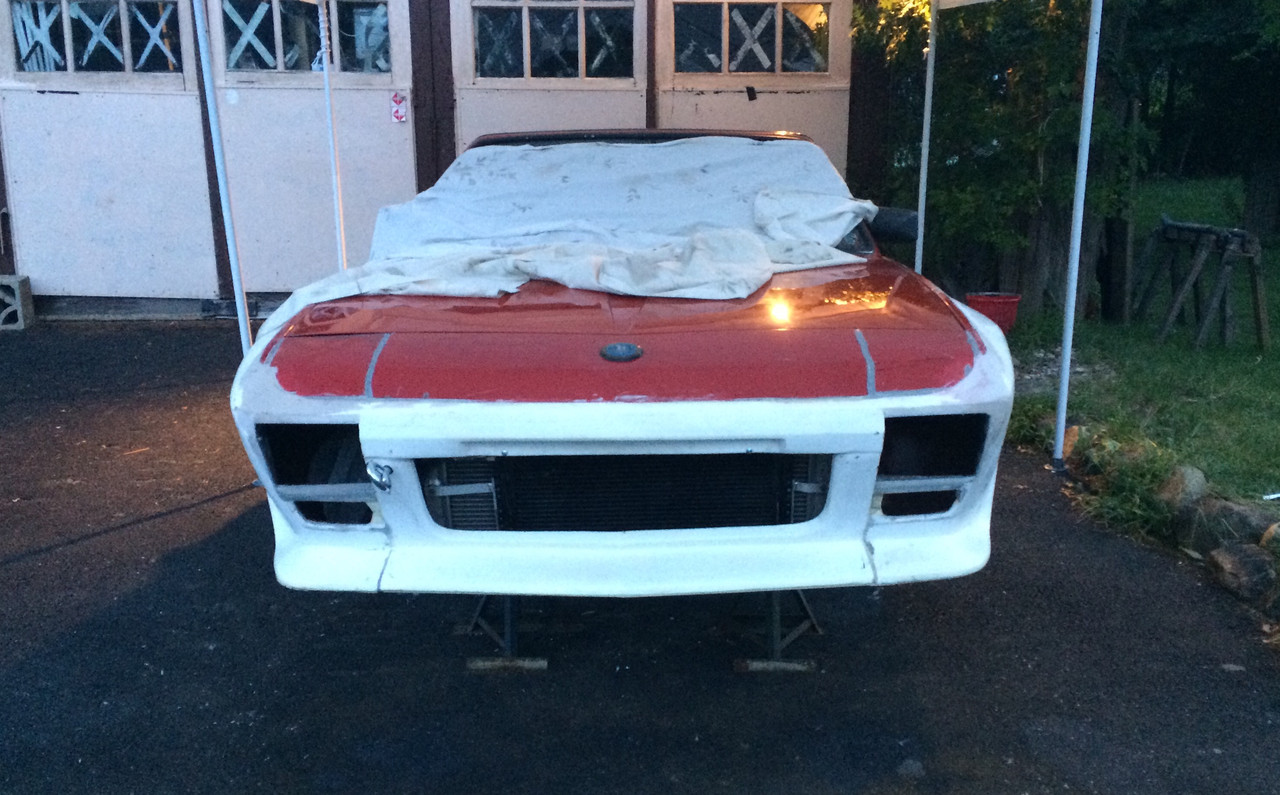
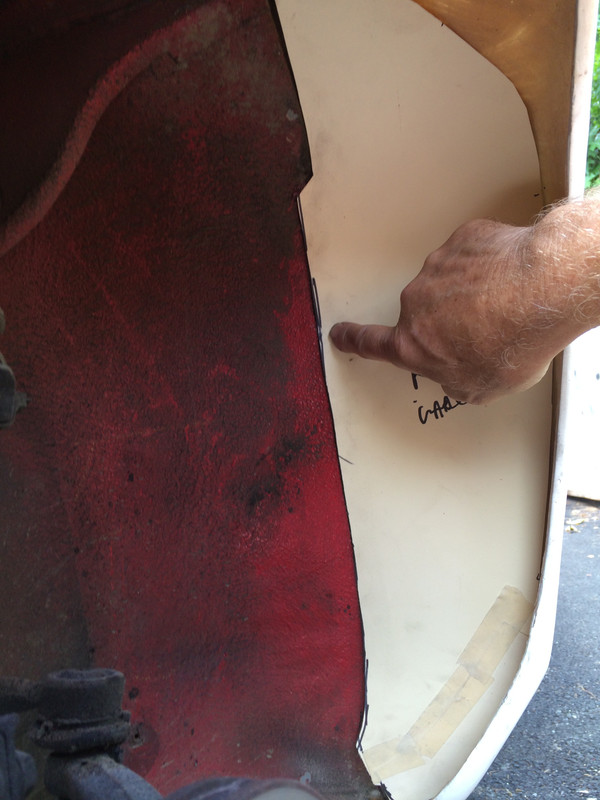
Worked on the inner front fender barriers yesterday, and the grille insert. I opted to make the insert for install after the fenders are bonded, otherwise I have too many surfaces to bond simultaneously. Going to use 1/16" (.0625) 6061-0 aluminum sheet, rather than thinner steel sheet.

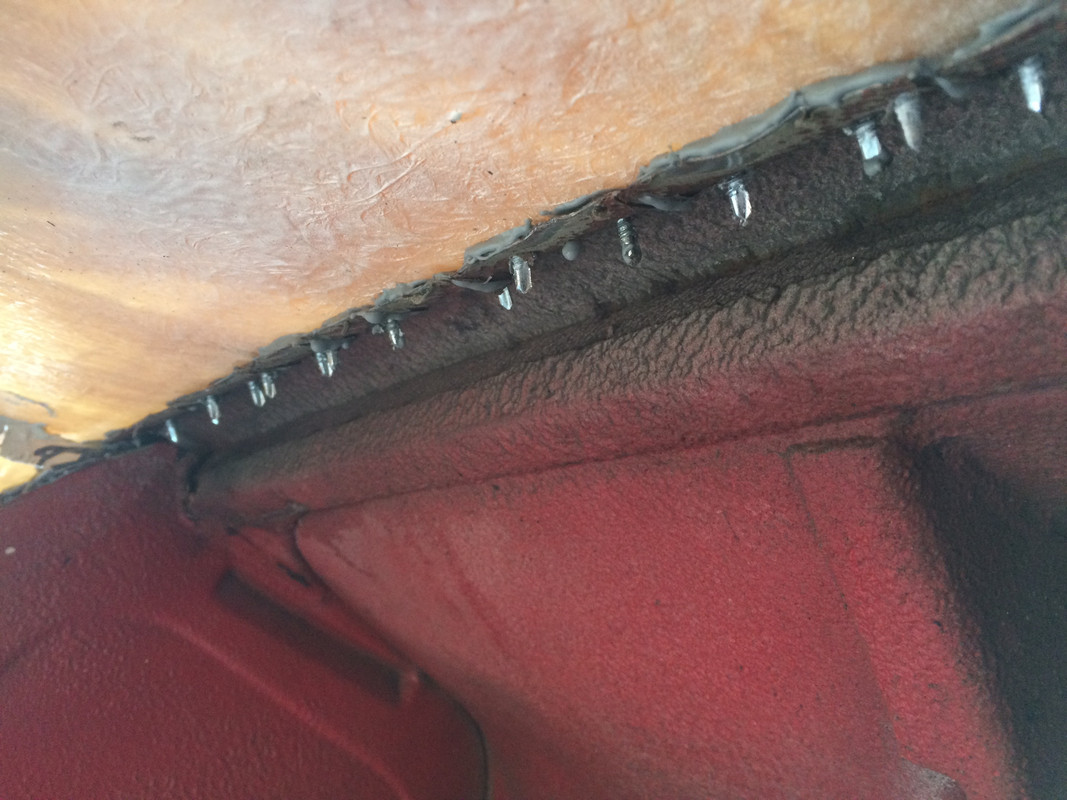
(front) forward sections

DallaraWheelArches00010.jpg


Dallara_Wheel_Arches00003.jpg


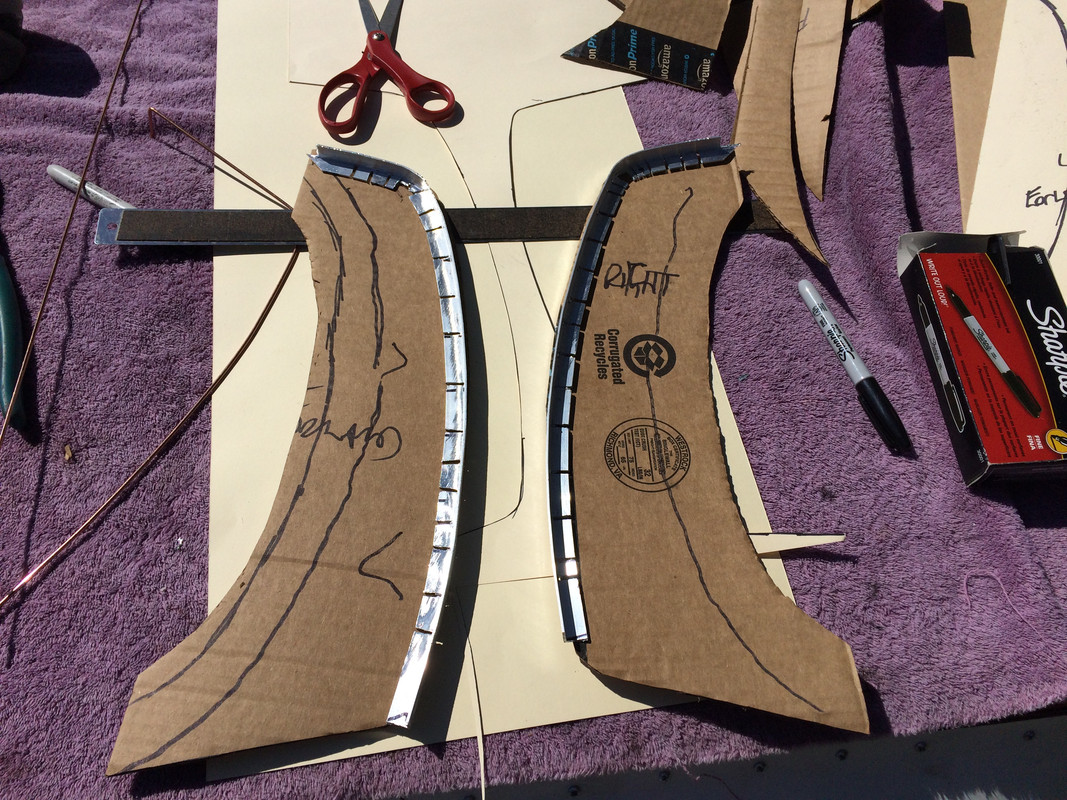
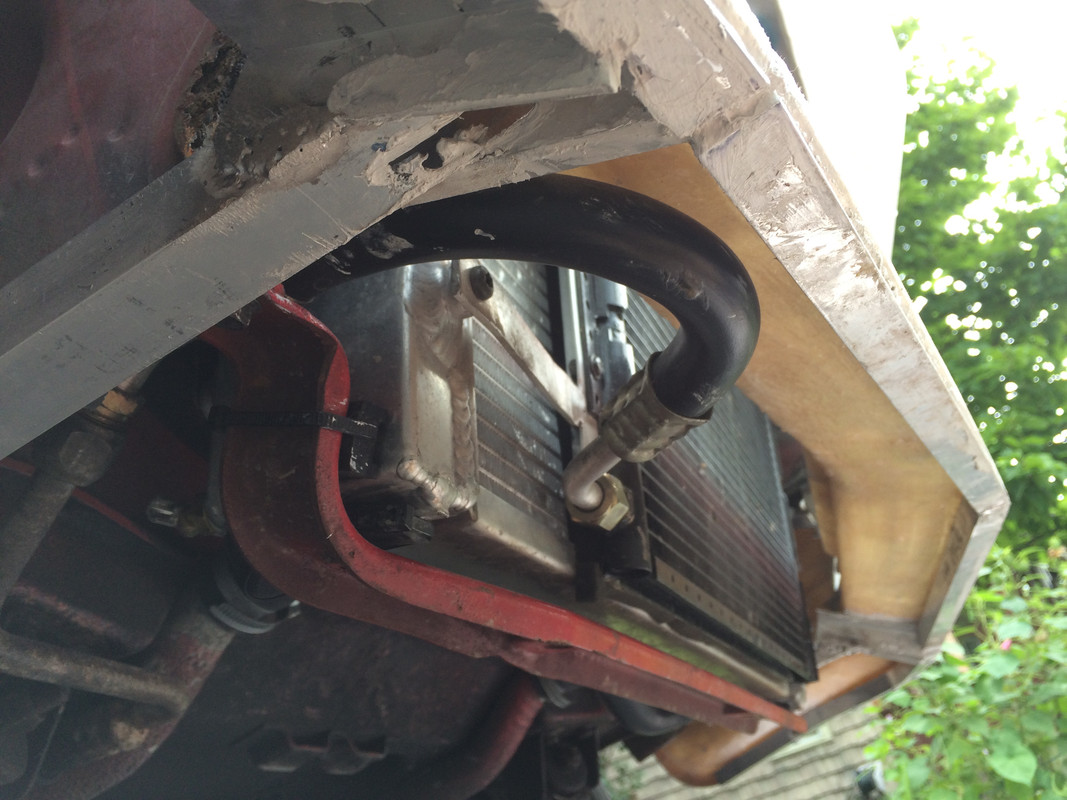
lip bonded to fender, flat insert will be bonded in place after nose is bonded. Been using Fusor 116 up to now, medium drying time. It is NLA, so I'm using 208b after this tube is done, it's a slower drying bond, which will be better for allowing time to position the entire nose panel and fender junctions.

Dallara_Wheel_Arches00002.jpg


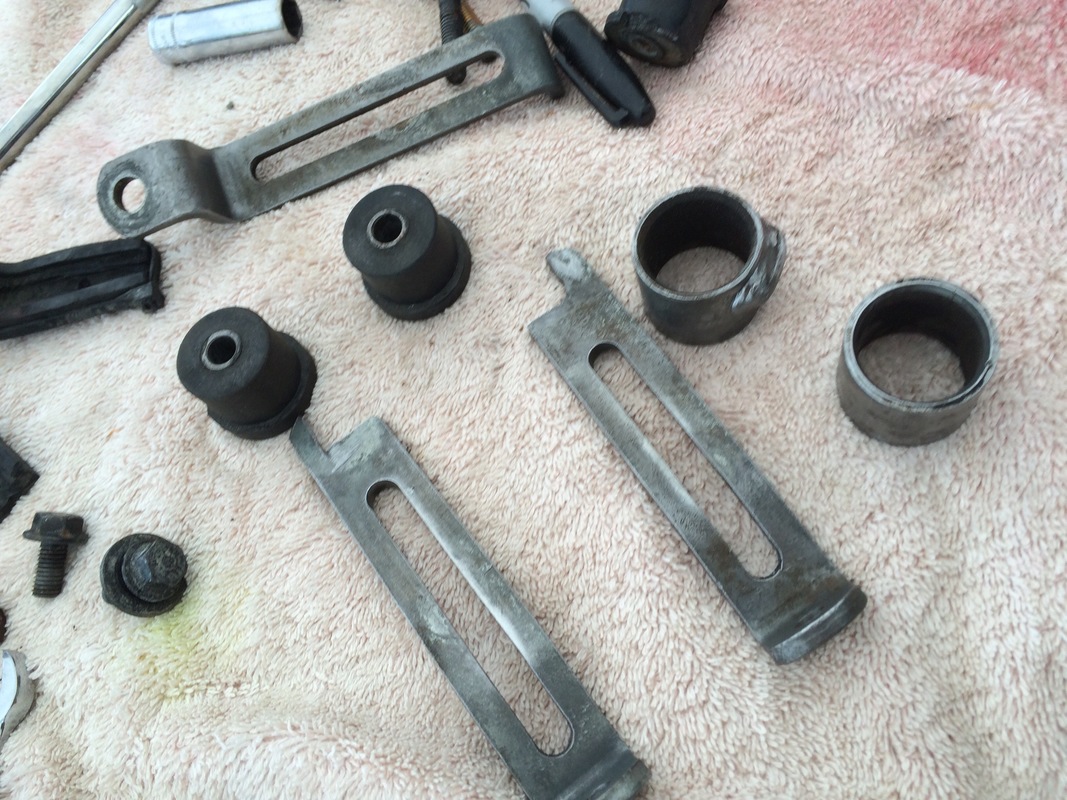
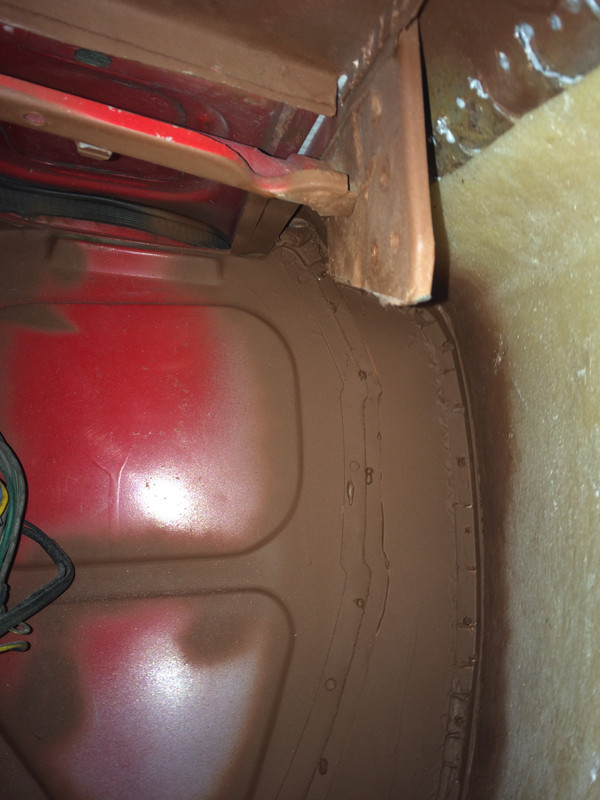
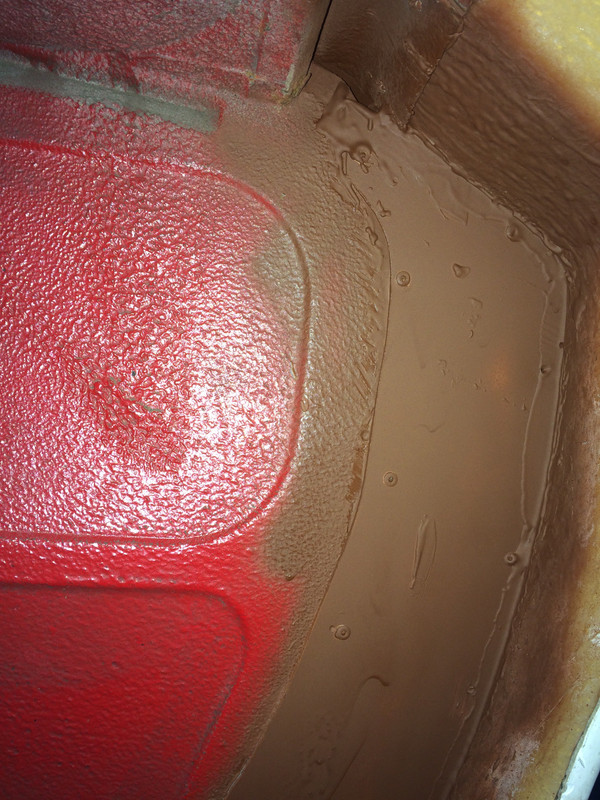
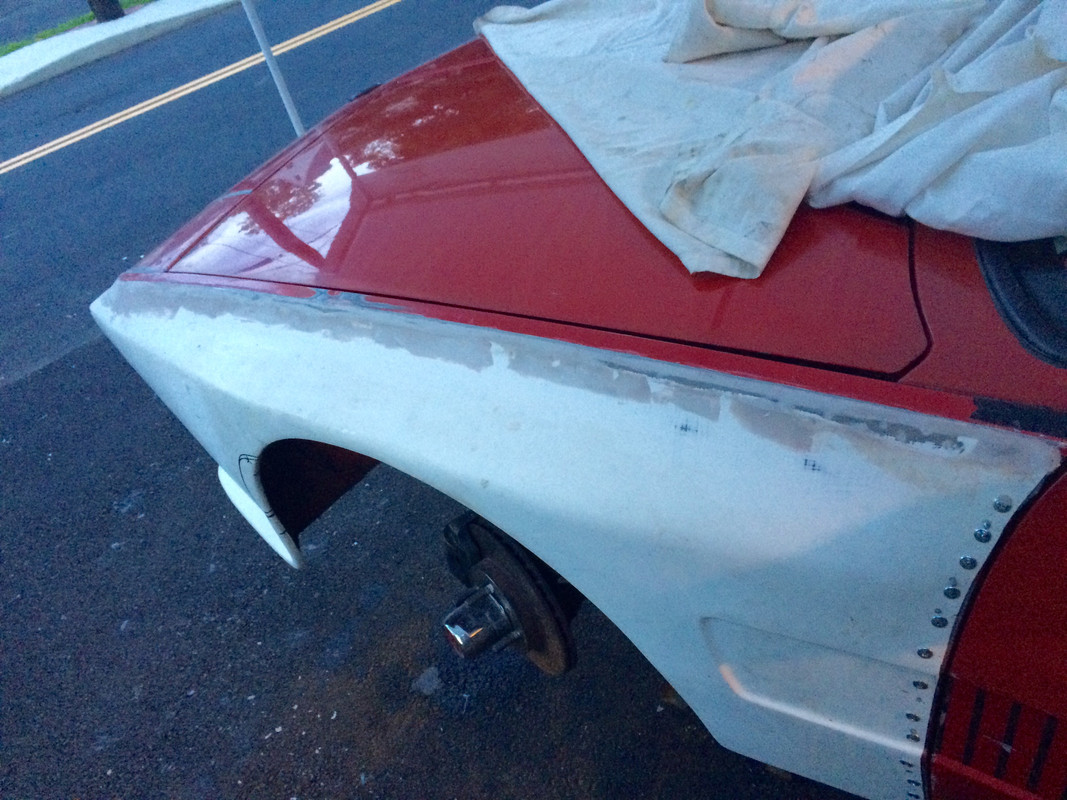
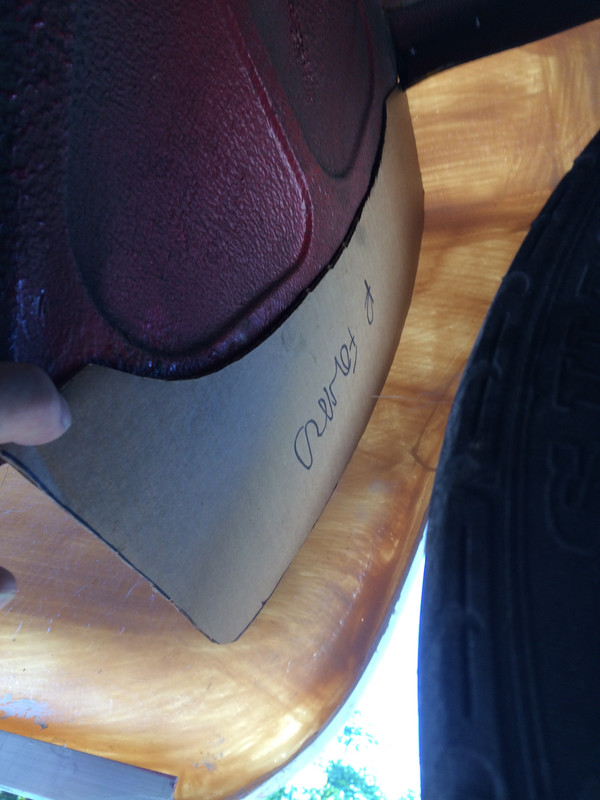
Inner (front) rearward template

Dallara_Wheel_Arches00001.jpg


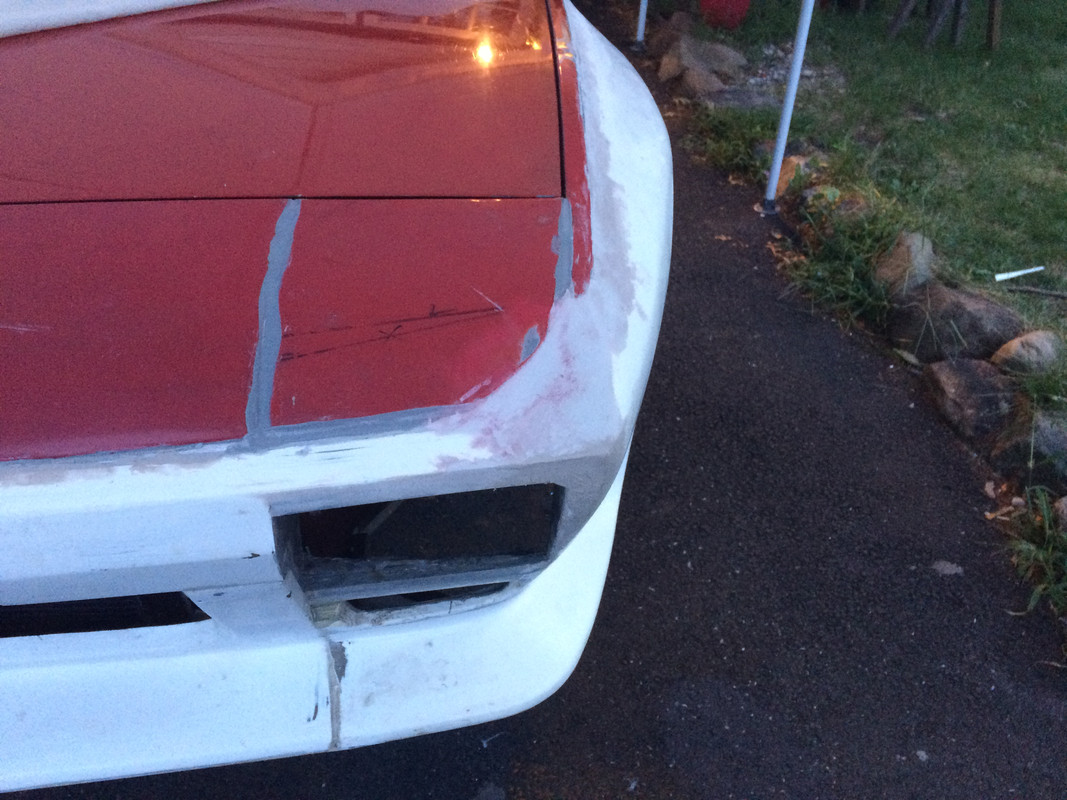
Found this grille mesh on eBay, closest I could come to to the original. Enough left over to make grilles for the side air intakes also, if I choose.

YT-600105 40 x 120cm
DallaraNose00085a.jpg


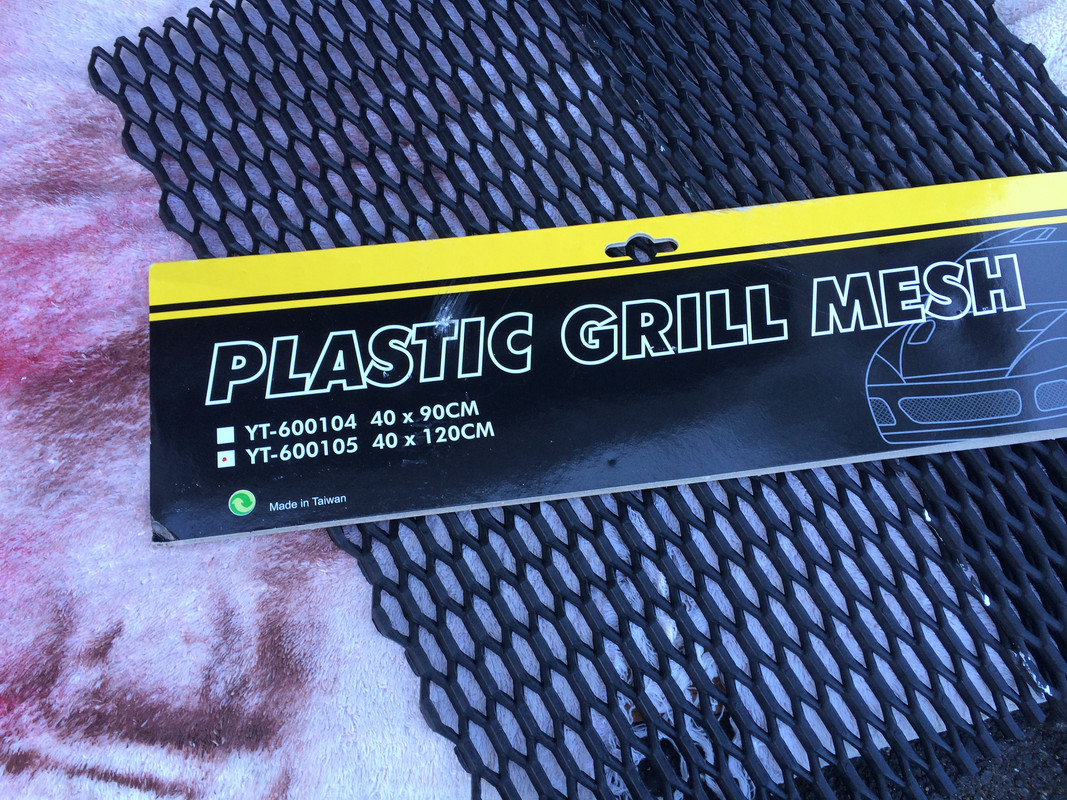
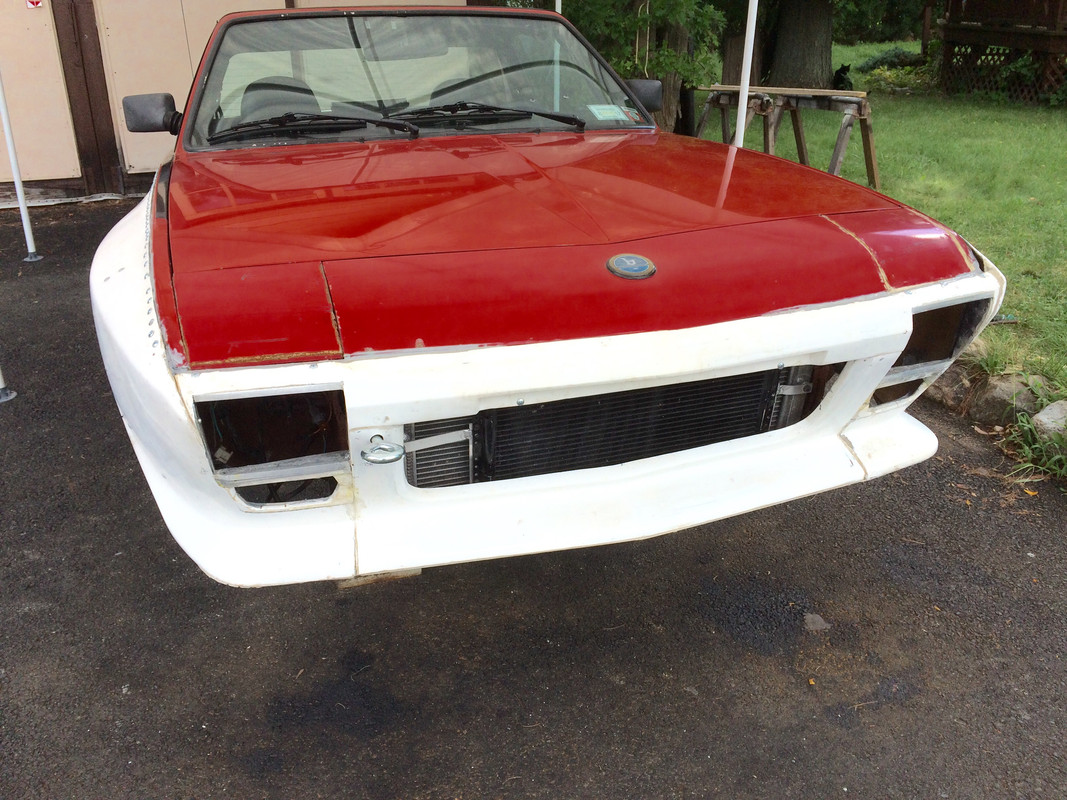
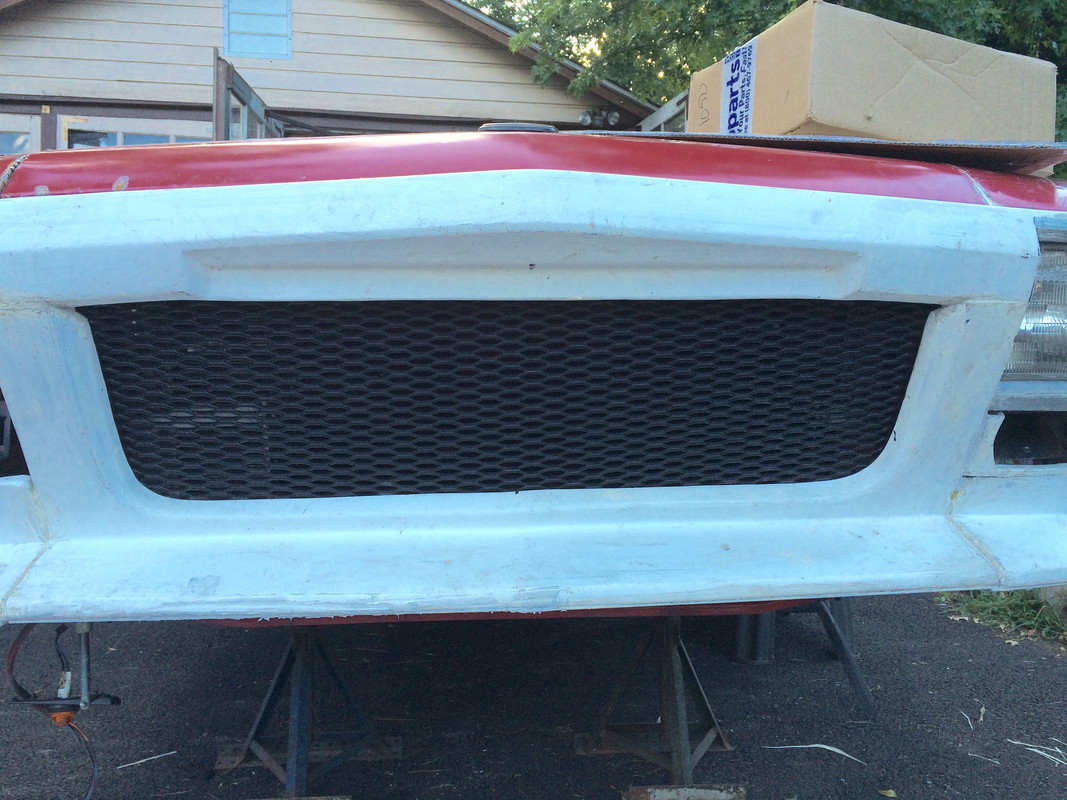
pics lightened to show mesh detail - going to remove / fill that licence plate recess area - don't want it & I'd never hang a licence plate in front of the air intake anyway.

DallaraNose00085.jpg


Dallara_Nose00078.jpg


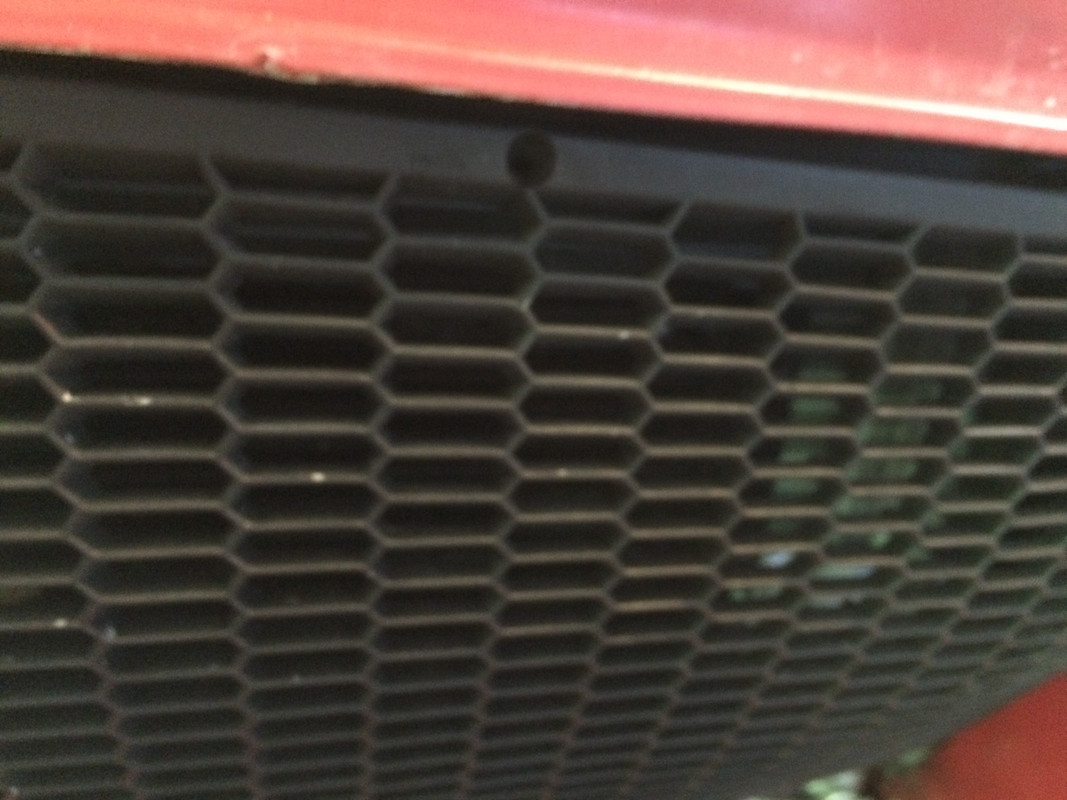
stock grille honeycomb

DallaraNose00045.jpg


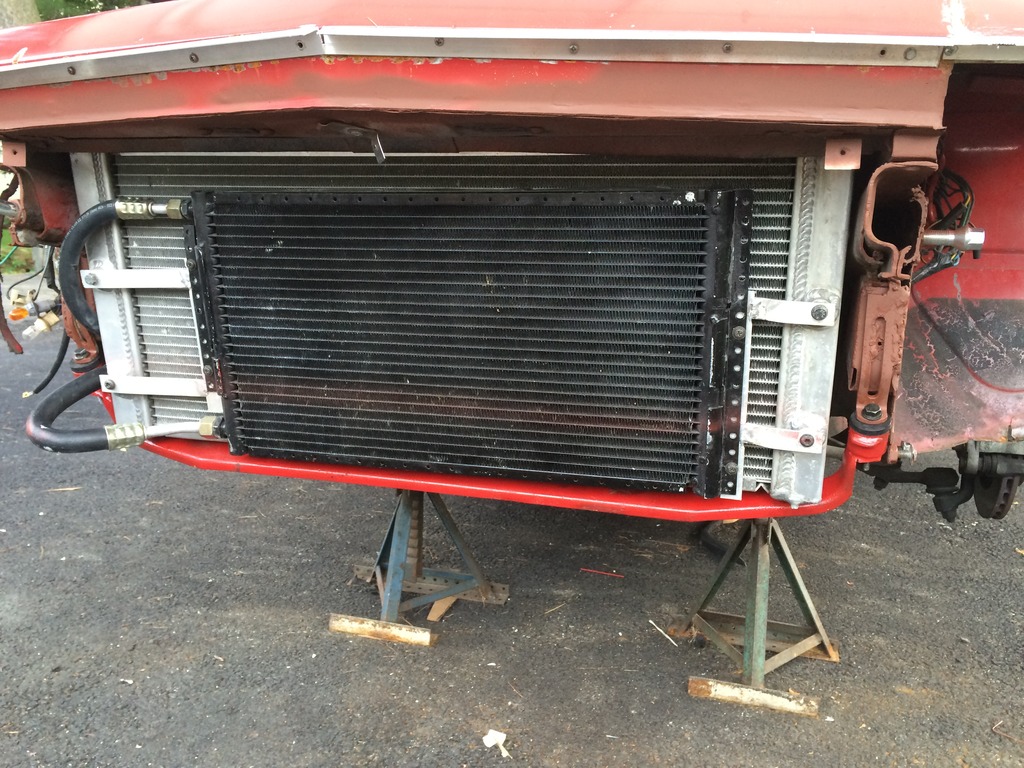
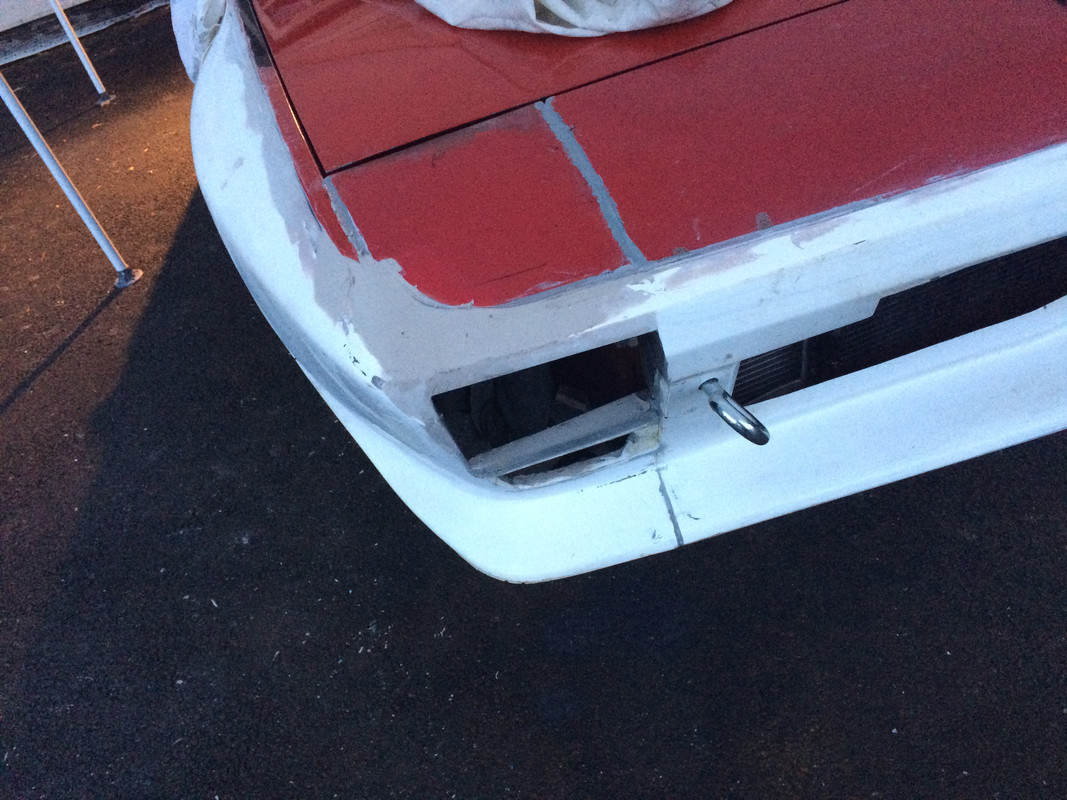
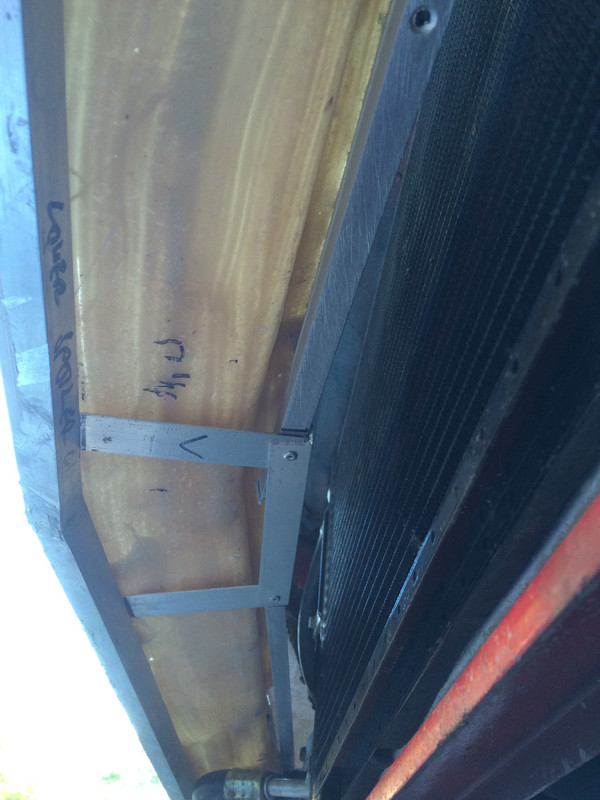
Sits in a trough, top & bottom. Material is flexible enough to push into upper trough, then flex & insert into lower trough. This way it can be removed & dropped down & out for access to AC fittings, etc. Have to trim & finish upper trough, and add side retainers to prevent lateral movement of the grille.

DallaraNose00039.jpg


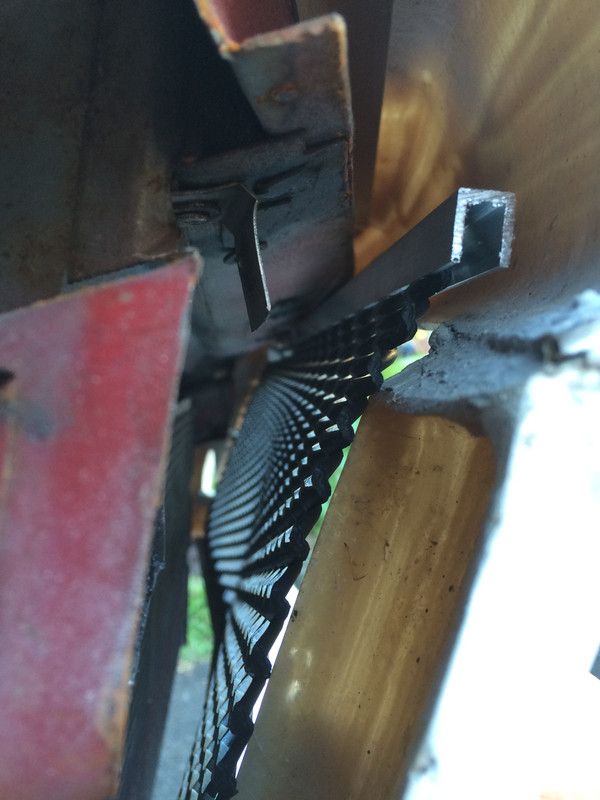
trough is set to 'tension' the grille material - forcing it to sit against the contour of the spoiler, otherwise it wants to lay flat, which would leave a gap along the bottom where grille meets spoiler, vs. the essentially flat upper contour.
DallaraFrontSpoiler00004a.jpg
 
Last edited:
Slow going today. Got the headlamp upper supports finalized - used my initial one as a dimension guide and remade them in square stock. Had to spend some time cutting back the frame rail extensions to allow the headlamp housings to lay nicely without any pressure or tension caused by pushing against the frame. I already trimmed the support housings as much as could be safely done.

DallaraHeadlamp00011.jpg


DallaraHeadlamp00007.jpg


So left and right headlamps / supports are situated, now I need to do the right headlamp surround, and finish both marker surrounds.
 
Last edited:
looks good so how long before you hope to have this back on the road? At this rate you'll be finished long before I am
 
looks good so how long before you hope to have this back on the road? At this rate you'll be finished long before I am

I actually don't know. Just want to get the front bonded & edges rough filled by next Tuesday. Rears should be a piece of cake (famous last words) after the amount of work the lights have taken to get done.

I'm hoping to get all the rough work done by the end of September.
 
Hahaha comparatively I guess yeah they are

Do you intend on leaving the rivets after you glue it I left mine there for extra strength.

If you choose too that does make getting the line on the front a painstaking process.

You've got to not only get the filler line straight but it's only 30-40mm of height of which you need it to feather down to nothing to meet the factory guard line but be thick enough mid way to cover the rivets. I thought it wouldn't be that hard at first turned out to be a nightmare. Admittedly I started it a long time ago and was doing it with hand sanding. Once I got an orbital it definitely made it a lot easier.
 
FYI

Don't know if you're using them in this but you can get poprivets with countersink heads from aircraftspruce.com. Should make finishing easier with them in place...
 
Don't know if you're using them in this but you can get poprivets with countersink heads from aircraftspruce.com. Should make finishing easier with them in place...

Thanks for the tip - however I'm not leaving any rivets or screws in place after bonding the external panels - the screw holes will be filled after.

Right side headlamp surround is roughed in

DallaraHeadlamp00004.jpg


Have to cut out for the marker tomorrow & try to get those out of the way, then the nose can come off again. At that point, I need to trim the fender attachment points back to 1" max overlap, clean up & paint the frame rail forward sections that I had to cut for headlamp support fitment. Then, I can bond the nose on.

Weather has gone to sh** - thunderstorms continuing for the next week, gonna be interesting.
 
Last edited:
Finally got the markers aligned with the headlamp supports, and basic marker openings laid out.


DallaraHeadlamp00026.jpg


Dallara_Headlamp00046.jpg


Tomorrow I can remove the nose, after I set the rearward inner fender supports.
 
Last edited:
Got the tow hook placement sorted out.

DallaraHeadlamp00020.jpg


Pulled the nose off, and the rad support dropped - the threads had stripped on the left side mounting stud...

Dallara_Nose00002.jpg


since my Howe rad is larger, I had made offset brackets to move the mount point forward - so I took some Volvo tensioner arms (700 series) and cut them up

X19_0114.jpg


welded to the rail ends

X19_0092.jpg


used the barrels to make the support isolated

X19_0169.jpg


IMG_2835a.jpg


hopefully tomorrow I can move on with the fender mount areas
 
Last edited:
Just how many junk Volvos do you have around your house? :)

Its not like those brackets just fall out of the sky...
 
coming from the towing background it is good to see tow procedure put into how to get it towed (or in this case loaded onto a carrier) thought about.


But something to consider. Remember the winch on most carriers in the states is mounted in the center of the deck and low. So as the car is loaded you start getting a lot of side load on the hook. Might not be as much of a problem with our smaller lighter cars. But many BMW's have broken their hook because of this issue and ended up rolling off the deck.

Don't be surprised if the tower is reluctance to use the hook.

You might consider making the hole larger so if the hook does get bent it does not contact the body work. Or maybe having the welded nut go farther out of the bodywork.

Very nice detailed posting on this project. I have been enjoying watching the progress!!
 
Just how many junk Volvos do you have around your house? :)
Its not like those brackets just fall out of the sky...

I have a stockpile of adjusters and other mount brackets from cars I have stripped over the years - since I like to make stuff, it is always handy to have around. I am actually getting low on stock now...
 
But something to consider. Remember the winch on most carriers in the states is mounted in the center of the deck and low. So as the car is loaded you start getting a lot of side load on the hook. Might not be as much of a problem with our smaller lighter cars. But many BMW's have broken their hook because of this issue and ended up rolling off the deck.

Don't be surprised if the tower is reluctance to use the hook.

You might consider making the hole larger so if the hook does get bent it does not contact the body work. Or maybe having the welded nut go farther out of the bodywork.

Very nice detailed posting on this project. I have been enjoying watching the progress!!

Thanks, Rod.

Perhaps I should have gone with a cast eyelet - I based the sizing on the eyelet from my Volvo, hoping that was overkill given the weight of the car.
 
Over 100º today, with high humidity. Been very humid the past few days, but not this bad.

Dallara_Front_Fender00015.jpg

That's my son working on one of his customer's Volvos in the background.

Got the fender tabs cleaned up, cut back to 1" max overlap & prepped. I washed all the inner panels with turps & touched up the forward areas that recieved minimal paint treatment ready for paint. Bonded the 3/4" angle stock to the factory nose, in preparation for fitting the fiberglass panel.

DallaraFrontFender00007.jpg


got some work done on the reinforcements of the headlamp and marker surrounds as well. I actually wanted to do the detail work on the surrounds and the side marker cutouts in the arches before installing the nose. With time constraints on getting the nose bonded, and helpers needed to get the nose/fenders attached I took adavantage of my son & his girlfriend being around today. Also all the mating surfaces were stripped & derusted (heavy rain & humidity) and I didn't want to have to do that again...

DallaraNose00001.jpg


The AC hose that loops in this pic is going to be remade - this one was routed as such due to the bracing I had had made for the Serpent Auto spoiler - it leaks at the crimp anyway. Took several purchases to get the correct #8 Beadlock Male Insert Oring 45º Fitting (BL-1812) at the end that joins the original AC hose behind the radiator. Got it from ACAutoFittings.com - neither Nostalgic Air nor the other one LarryC listed in his comprehensive thread had the correct fitting listed anywhere. So I could make the hose myself this time I also bought the AC Beadlock Crimp tool (Mastercool 71550) for $140 - the previous ones I had looked at were all over $200.

DallaraNose00006.jpg


Got the fenders bonded, with the help of my son's girlfriend - she provided necessary support for positioning the nose & helped with the fastening screws. A light schmear of the epoxy is spread over the 1" contact area prior to the bead application - that will help prevent any corrosion as Lord warrants the epoxy (208b) has excellent corrosion resistance when applied to bare metals. Took almost an entire cartridge ($65 per) to do the nose support and then the nose/fender install, with some additional epoxy used in the headlamp / marker / grille support.

As other fitters have mentioned, the cost of materials and tools required to properly secure and finish the panels, not including paint (which I haven't bought yet) easily amounts to the cost of the panel kit itself. Pretty sure I have spent over $1000 so far, I'll have to do a tally at some point. Since I don't normally do body work of this nature, I did have to buy panel shears, a flange tool, and several other non-consumables that perhaps others may have in their toolbox already.

Didn't get done 'til about 8:30 pm so pics later
 
Last edited:
No work today - we went for a few hour hike this morning before the temps/humidity peaked - now it's just horrible outside.

Took a few pics of the post bonded state - many screws to get it pulled down flat - I had to thin out the fiberglass in the mating area, and it's still a hell of a ridge that will need tapering and filling to get it aligned with the fender ridge.

The right side did not want to follow the rear fender line at all, I had to force it in place, which has caused a indentation and crack in the arch that will need attention. I have a block of wood wedged in at the crack to prevent further cracking. Seemed like the panel had much more of a curve to it than the left side, which aligned without any where near as much force.

Dallara_Front_Fender00018.jpg


Dallara_Front_Fender00020.jpg


Dallara_Headlamp00004.jpg


Not looking forward to the finishing work for the back edges. Appears very uneven running down the edge. The doors will need to come off to work on this part. I'll likely leave this to last.

Dallara_Front_Fender00001a.jpg


underneath

Dallara_Front_Fender00011.jpg
 
Last edited:
Hussein... I can only suggest doing the crappy work first.

That way you'll look forward to finishing off the rest rather than NOT looking forward to finishing the rest.

Keep up the good work.
 
Looking Good!

Looks good so far Joe! I want to do this same operation to my "Spare" X body that I am saving for a 1.9 Turbo mod. I will likely just do the Abarth flare kit on my 77 1.9 N/A. Keep the pics coming!
 
That way you'll look forward to finishing off the rest rather than NOT looking forward to finishing the rest.
Keep up the good work.

Thanks Tony. Verticals will have to wait simply because I have to take the doors off :rolleyes2:

Got the inner fender forward supports bonded and primed.

DallaraWheelArches00014.jpg


DallaraWheelArches00013.jpg


Since I'll be away for 10 days, I wanted to get the fender tops filled. I'll have to put some primer over it tomorrow to keep the rust away until I get back.

They don't look to be as much trouble as I thought it was going to be

DallaraFrontFender00022.jpg


Obviously much work to do, but I didn't need more than a skim to do the inital fill


driver's side

Dallara_Front_Fender00021.jpg


I'm not used to this level of body work, I'll have to figure out some sort of template to use to check left to right nose tips & fender line

DallaraNose00044.jpg


Dallara_Nose00045.jpg


Dallara_Nose00040.jpg
 
Last edited:
Oh my... yeah, what yur doin' is a bit more body work...

than any 20 of us are capable of doing or even considering!

Have a great vacation, take pictures!
 
Back
Top