Preparing For Dallara Body Kit

This seems weird

When I come to this thread to see the updates/new posts I'm always having to search into the middle of the page posts instead of the last post at the bottom of the page. Is this a forum software issue or are people just posting new stuff randomly?
 
And the pictures are where???


So how does it look, are you happy with it? I know you won't know if you have rub for another week or so.
 
When I come to this thread to see the updates/new posts I'm always having to search into the middle of the page posts instead of the last post at the bottom of the page. Is this a forum software issue or are people just posting new stuff randomly?

I have display mode set to linear, the default is hybrid, maybe that is what you are experiencing?
 
And the pictures are where???


So how does it look, are you happy with it? I know you won't know if you have rub for another week or so.

lol. I put them on in the dark, so no pics yet. I don't expect any rub issues since I did check suspension travel with no spring and 1.5" worth of spacing on both sides. Hopefully that remains true in practice.
 
I get this sometimes too

When I come to this thread to see the updates/new posts I'm always having to search into the middle of the page posts instead of the last post at the bottom of the page. Is this a forum software issue or are people just posting new stuff randomly?

on posts that are very photo-heavy. Using Internet Explorer.

I think it gets confused about positioning, because it doesn't know the size of all the photos up front. On top of that, the forum software (at least, I think it's the forum software that's doing it) resizes the pictures if they are large and adds a bar at the top that allows you to see it in the original size if you click it.

So when you click on the "view first unread" button when the page first comes up, it calculates the position based on what it currently knows, but it hasn't finished downloading/resizing everything yet, so it does not always work accurately. In fact a lot of times you can see the vertical slider bar is still jumping around while doing those calculations.

If you let the entire page finish loading and then clicked the "view first unread" I think it would work. But with IE, it's sometimes hard to know when it's completed loading everything. A lot of times I end up just using the slider bar after it stops moving to slide to the bottom.

Pete
 
Chopped away some more at the inner rear arches - area with tape must be cut back to mate with outer sheet metal and fibreglass panel union.

DallaraWheelArches00026.jpg


DallaraWheelArches00018.jpg


made the fore/aft templates

DallaraWheelArches00021.jpg


Dallara_Wheel_Arches00048.jpg


sections made.

DallaraWheelArches00014.jpg


Need to add the reinforcements to the panels for bonding of the supports, remove the panels, eliminate the overlap where the inner fender hangs out past the outer sheet metal - that will be a nasty moisture trap, IMO.
 
Last edited:
Always about the modes

Thanks for mentioning the display modes, going to linear fixed the issue.:) Gotta love digital tech giving options you didn't know you didn't want!
 
Worked a little on the left inner fender supports.

Center of inner liner is bonded to outer skin.

Dallara_Wheel_Arches00019.jpg


Dallara_Wheel_Arches00009.jpg


Support lips (connection to fender) are bonded. The inner junctions have to be cleaned up, bonded & sealed before the outer fenders are bonded. The inlet air ducts have to be fabricated prior to fender bonding.
 
Last edited:
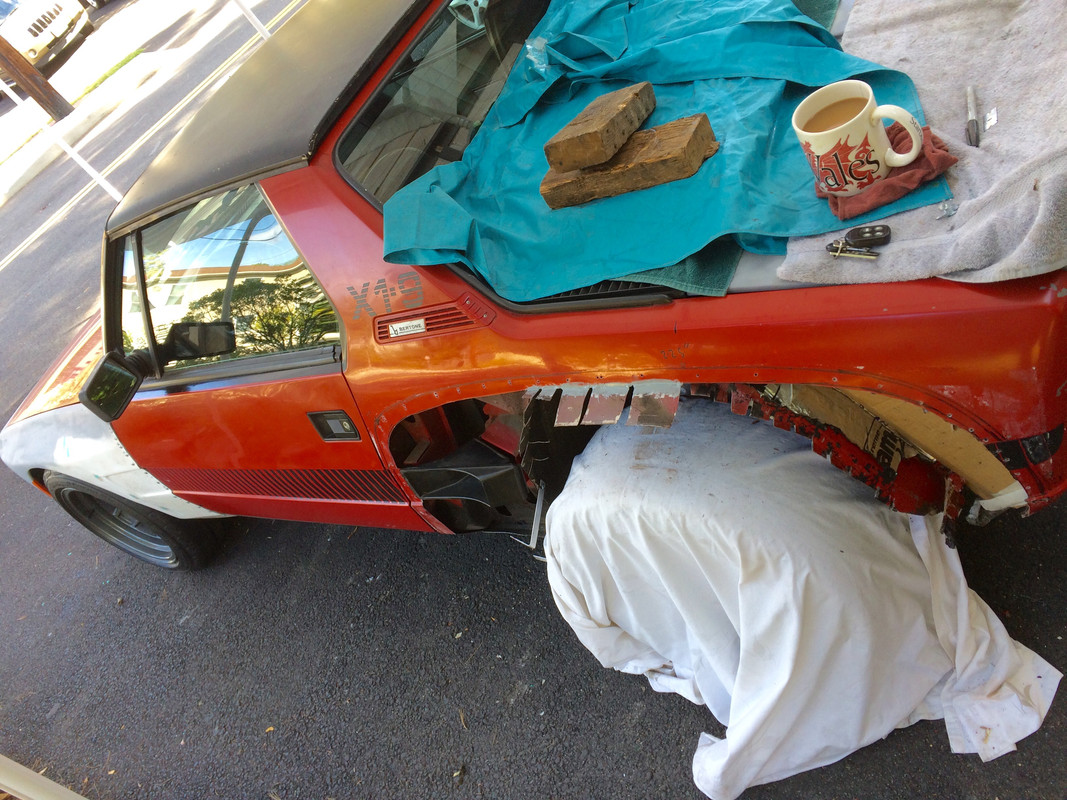
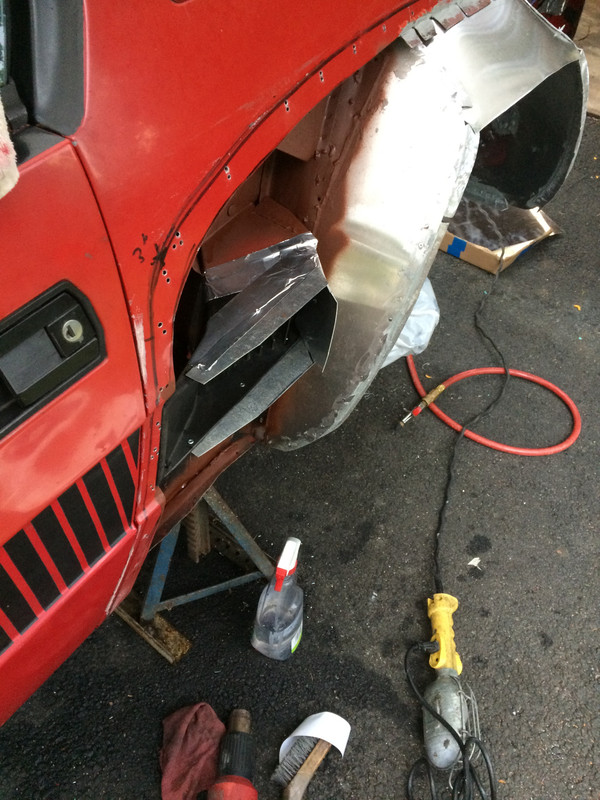
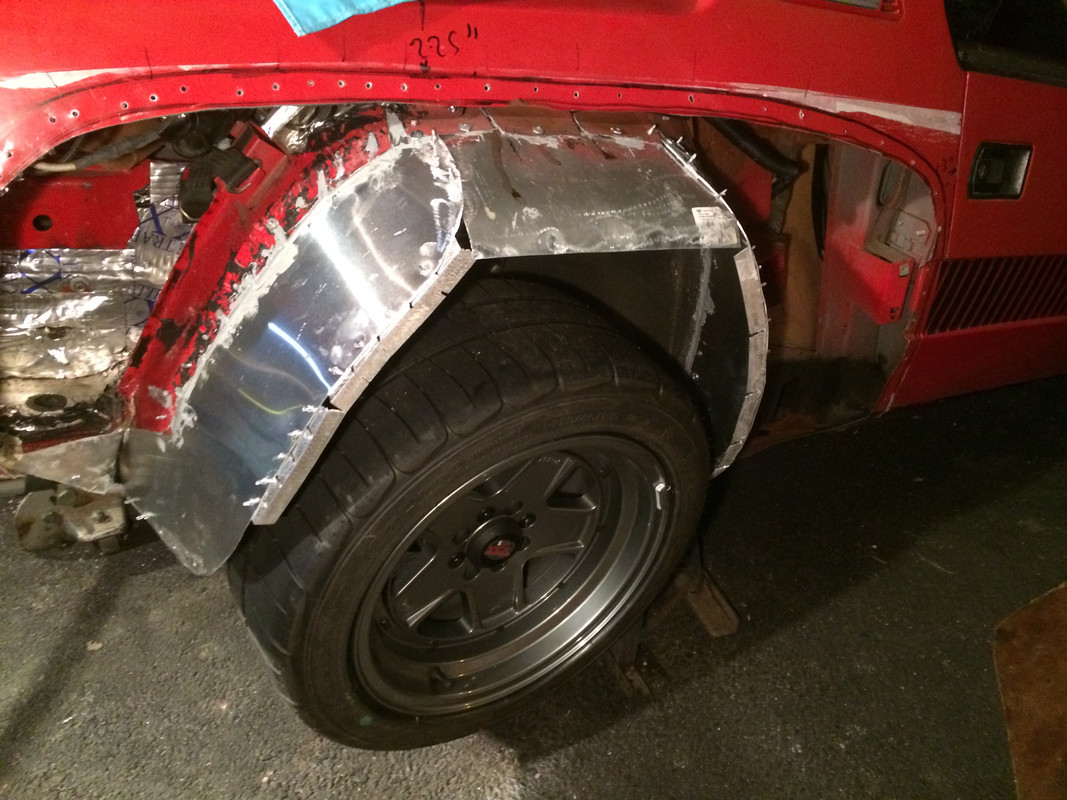
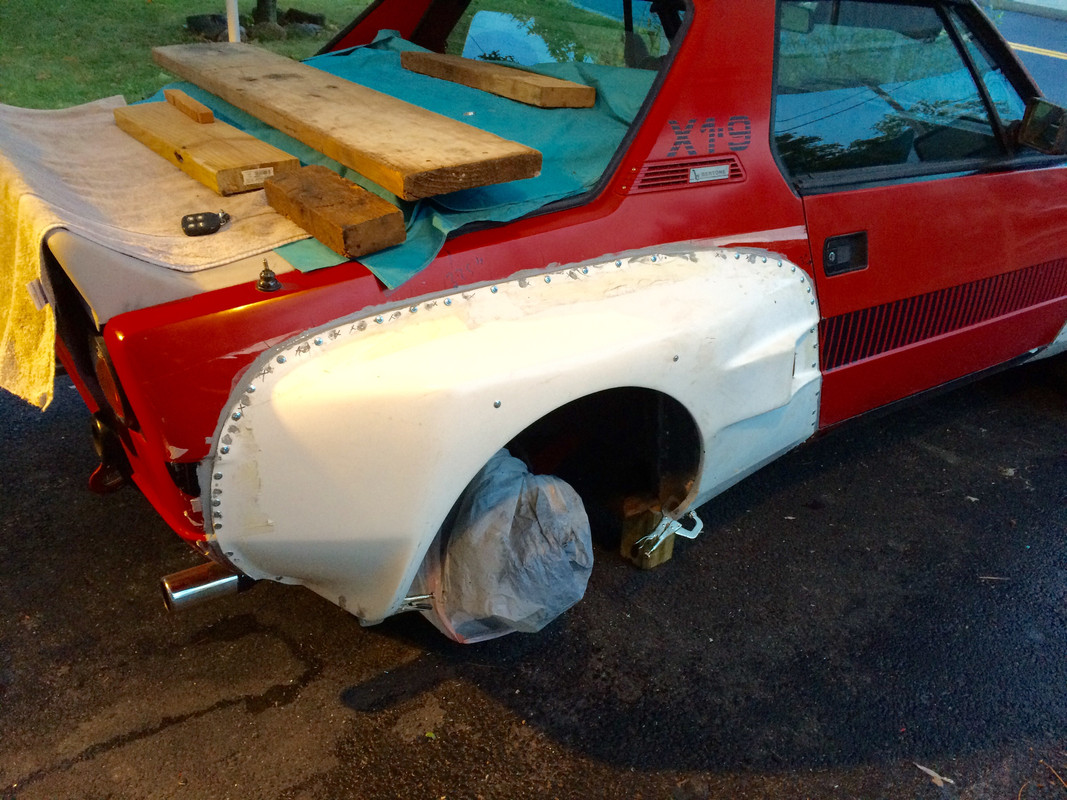
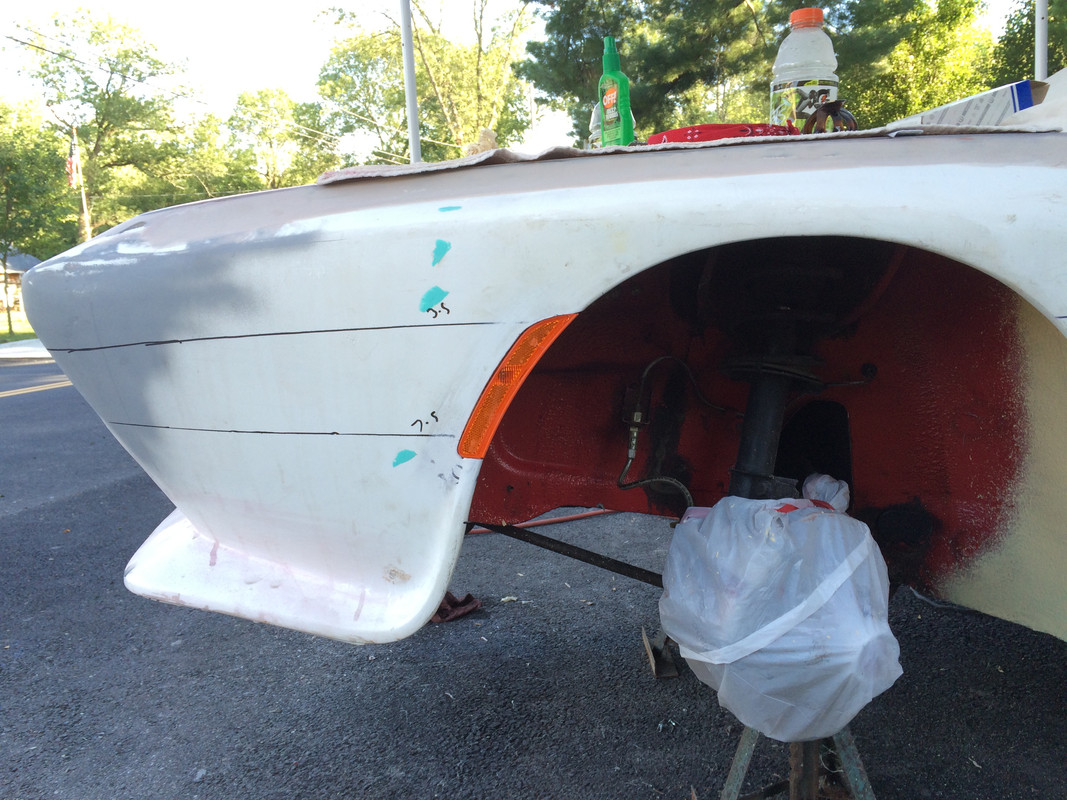
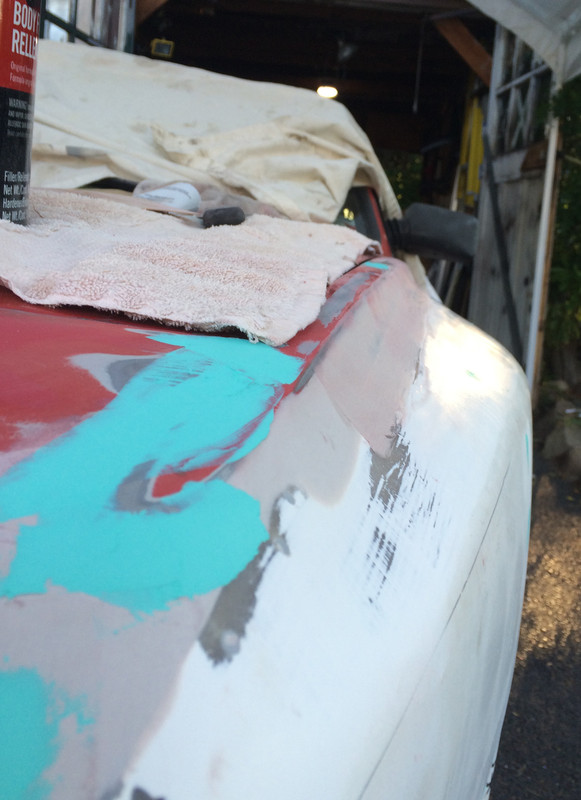
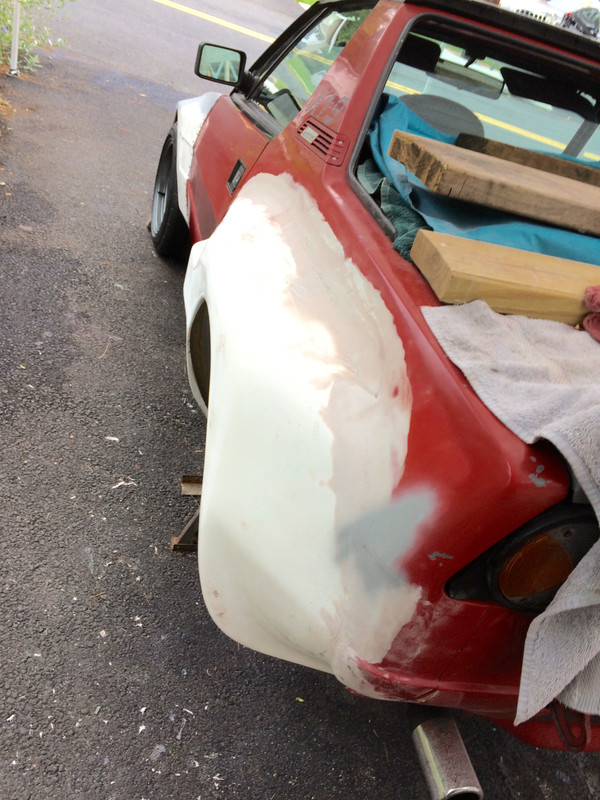
Yesterday I cut back the the sheet metal to approx 1" overlap & bonded the inner supports to the original sheet metal. I made a shield for the exposed center section of the fibreglass fender, to protect against stone chips, etc. I also cleaned, prepped & primed the inner sheet metal in the forward area.

Dallara_Wheel_Arches00035.jpg


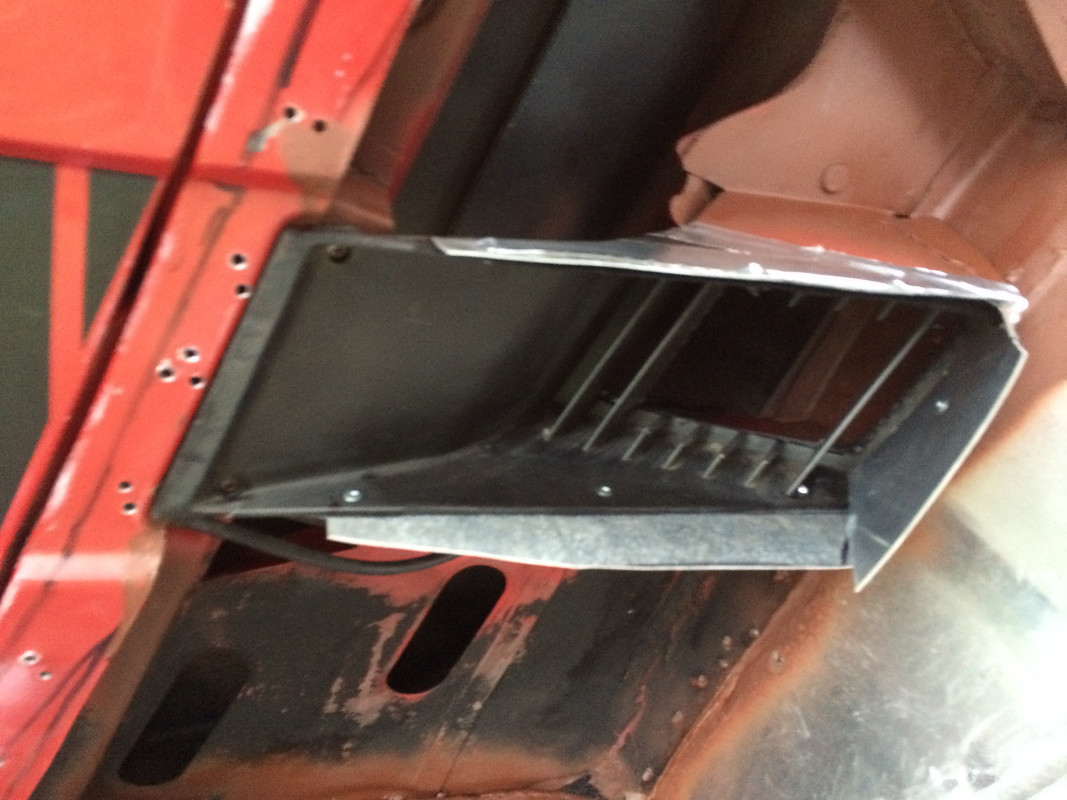
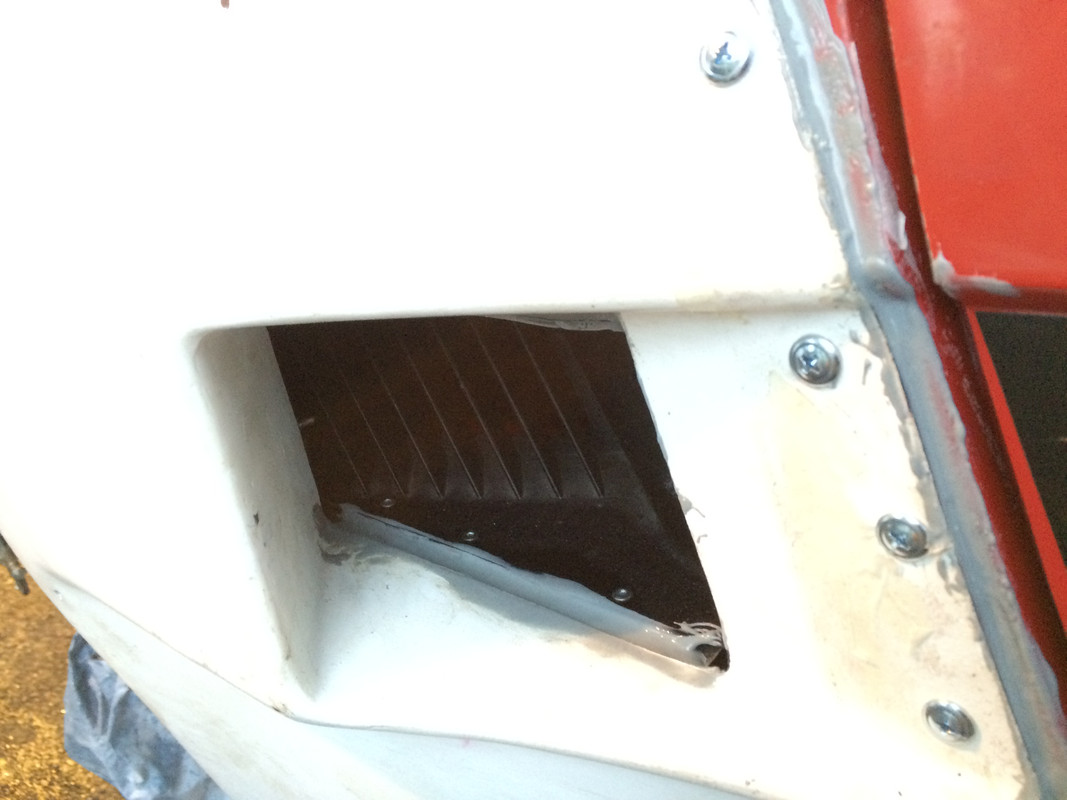
After that I worked on the air intake duct. After some deliberation I decided to keep the plastic duct & add extensions that will tie in to the fiberglass duct. The passenger side is a much more closely aligned fit, so less finagling to do on that side.

Dallara_Rear_Fender00000.jpg


Dallara_Wheel_Arches00047.jpg


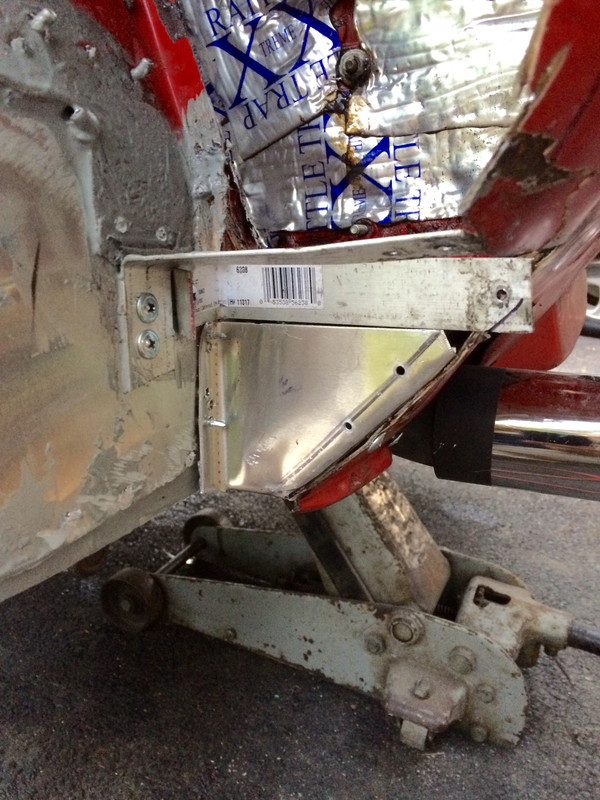
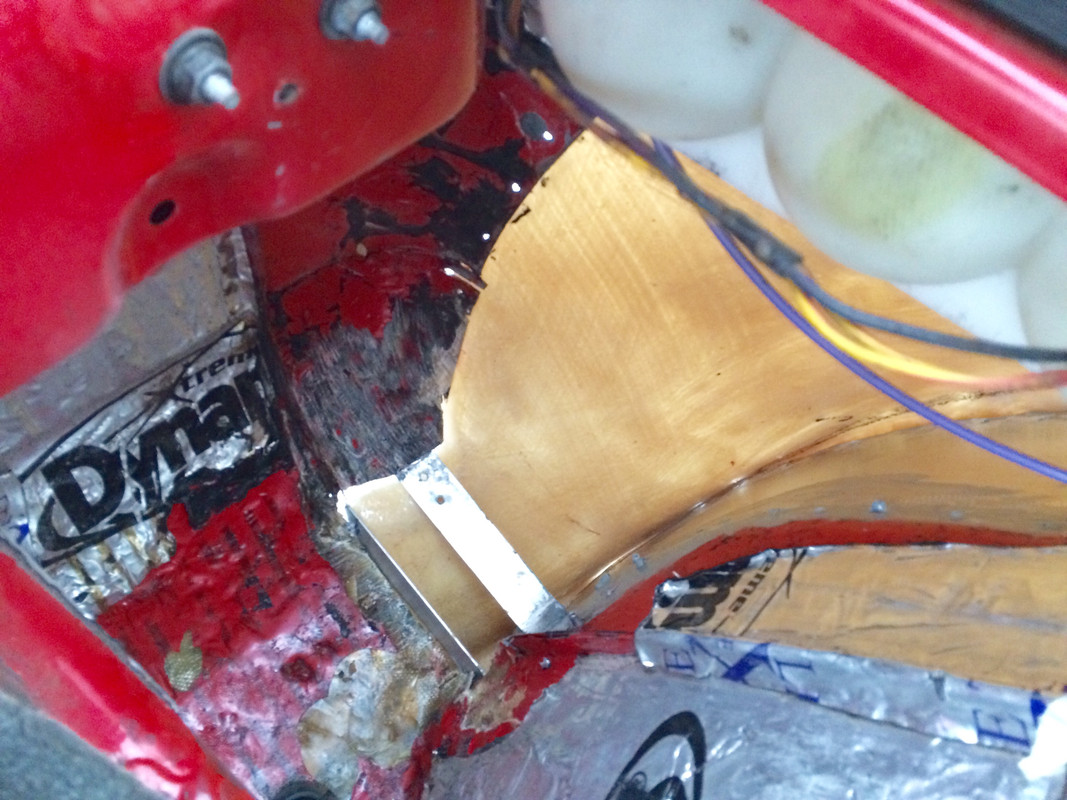
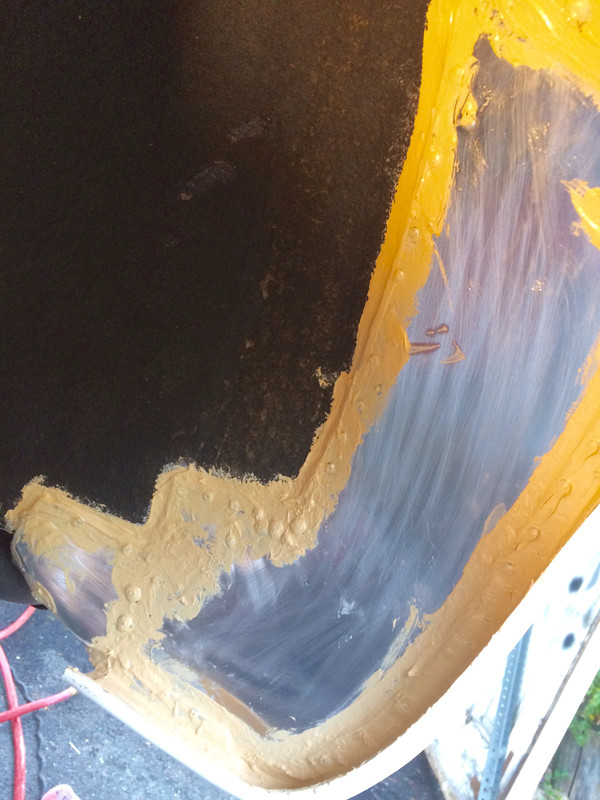
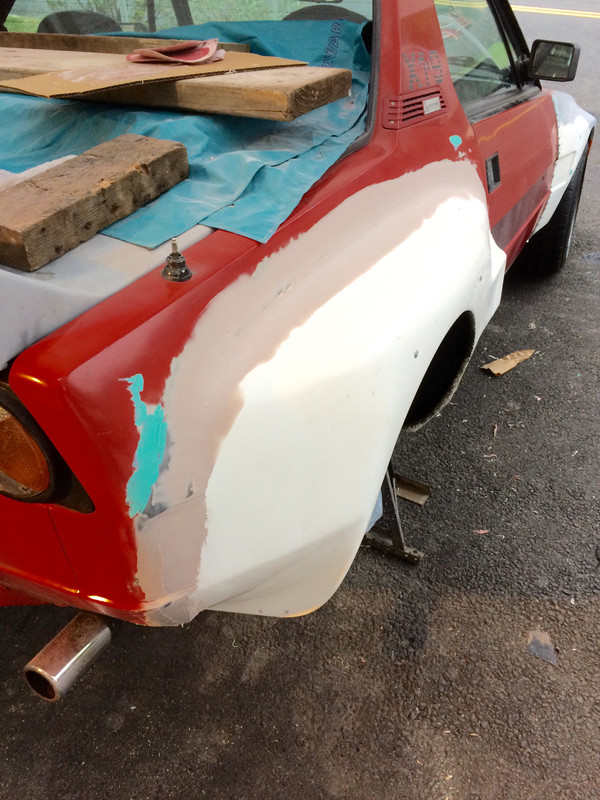
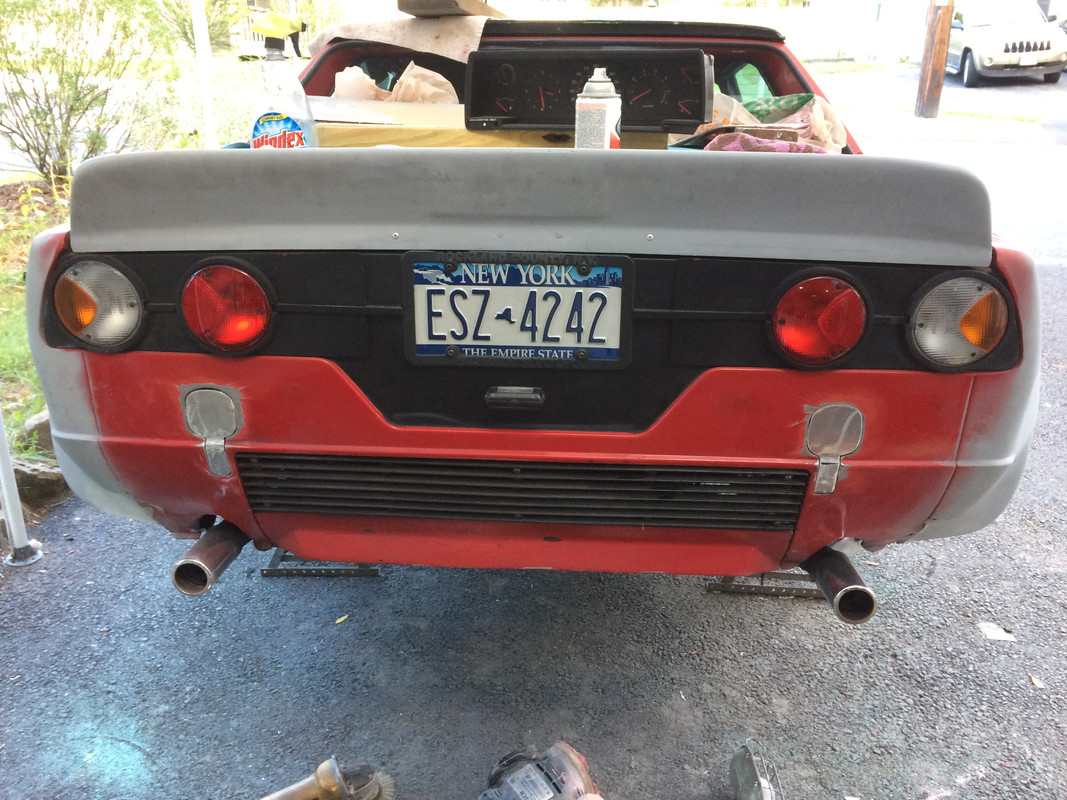
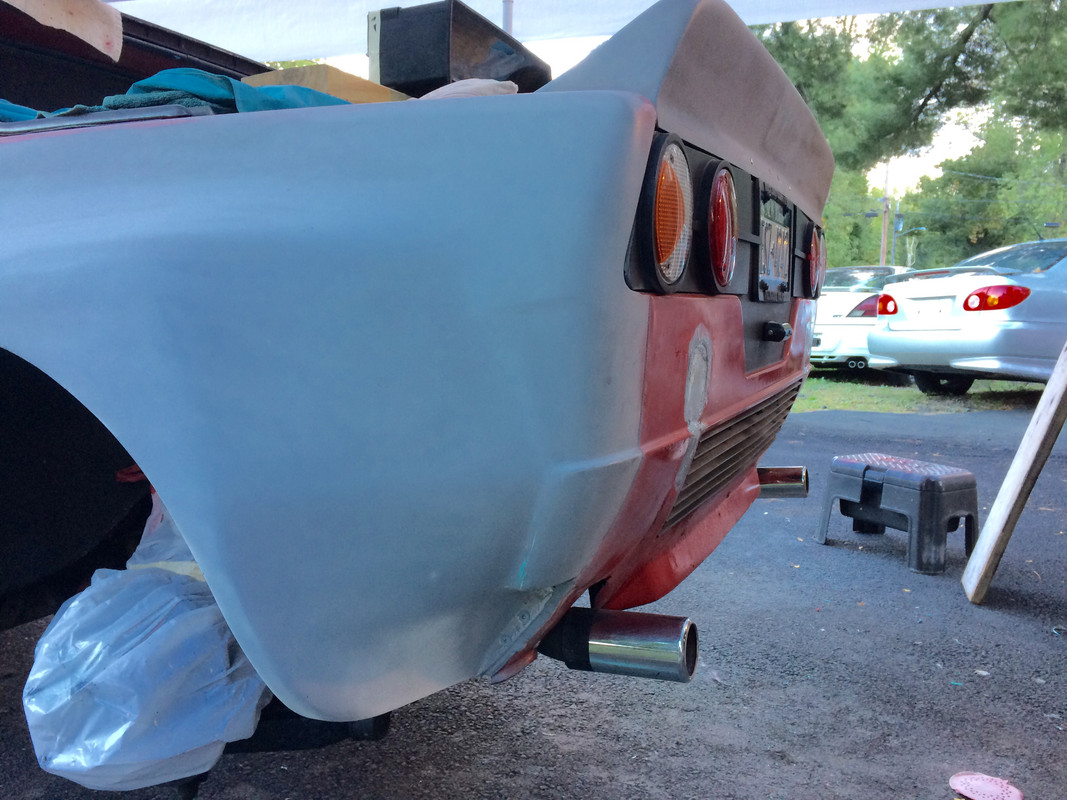
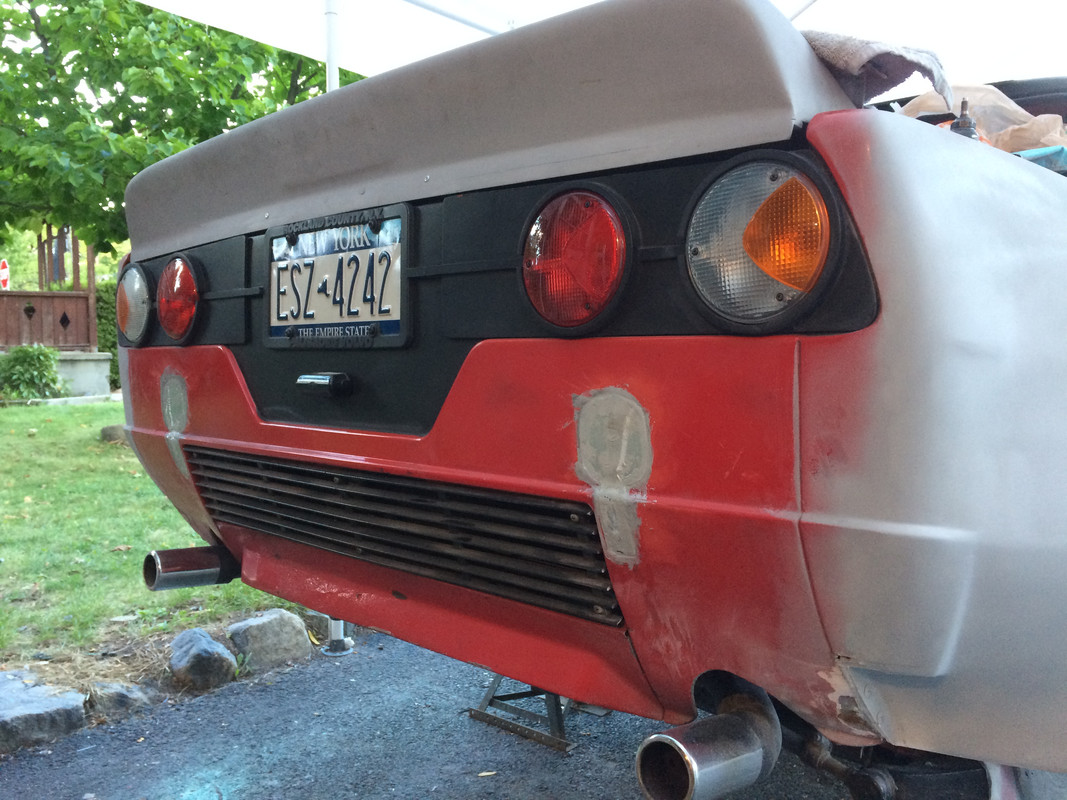
After that I worked on the tie plate needed to join the fiberglass rear bottom junction to the sheet metal & fill that opening. That was then bonded in place.

Dallara_Wheel_Arches00013.jpg


Dallara_Wheel_Arches00059.jpg


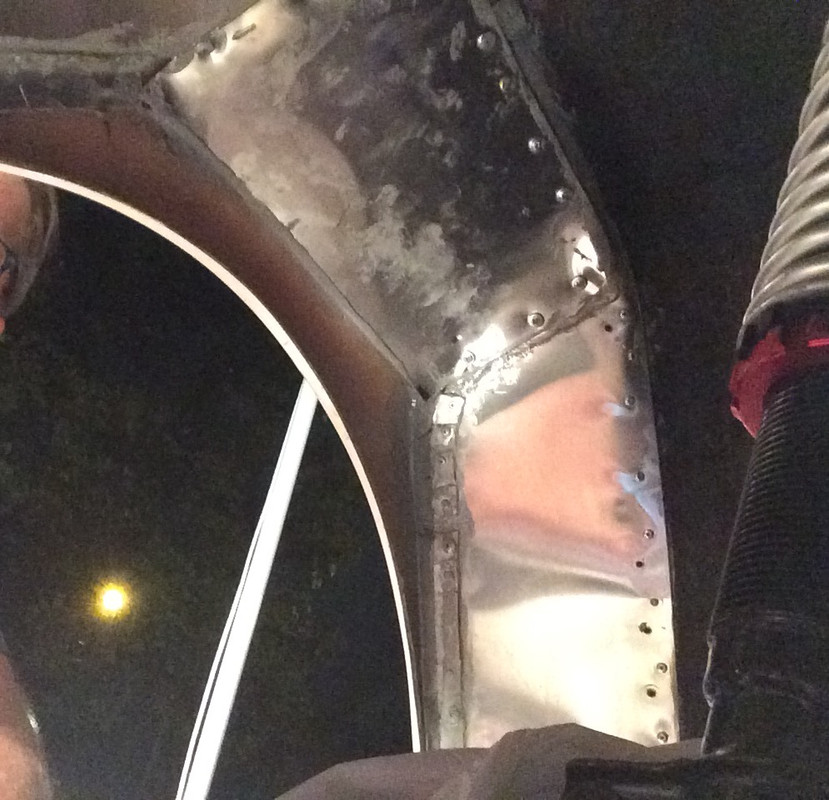
After that, I ground back the sheet metal of the fender to bare metal in the junction strip, and primed all surfaces with the epoxy, then applied the bead of epoxy to the sheet metal and wheel arch supports, and fixed it in place. Tha whole process took about an hour, so it's a good thing the epoxy has a 80 minute work time!

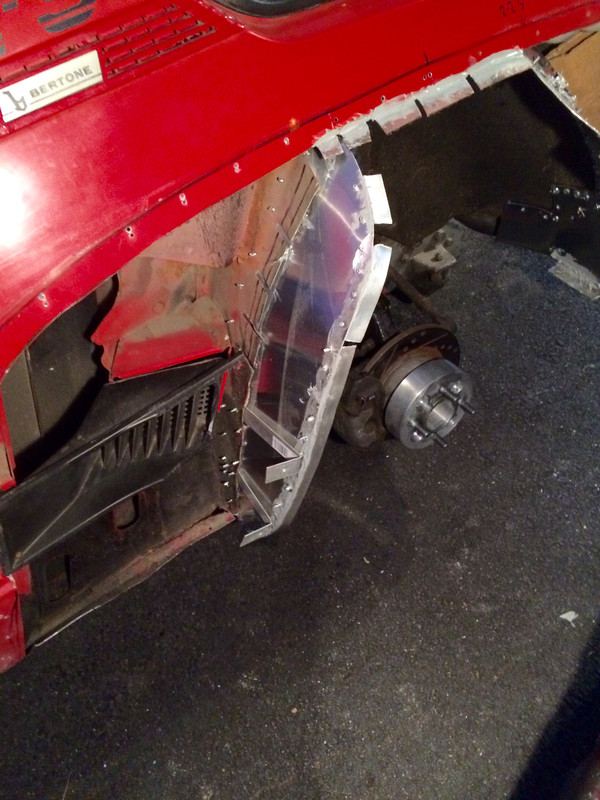
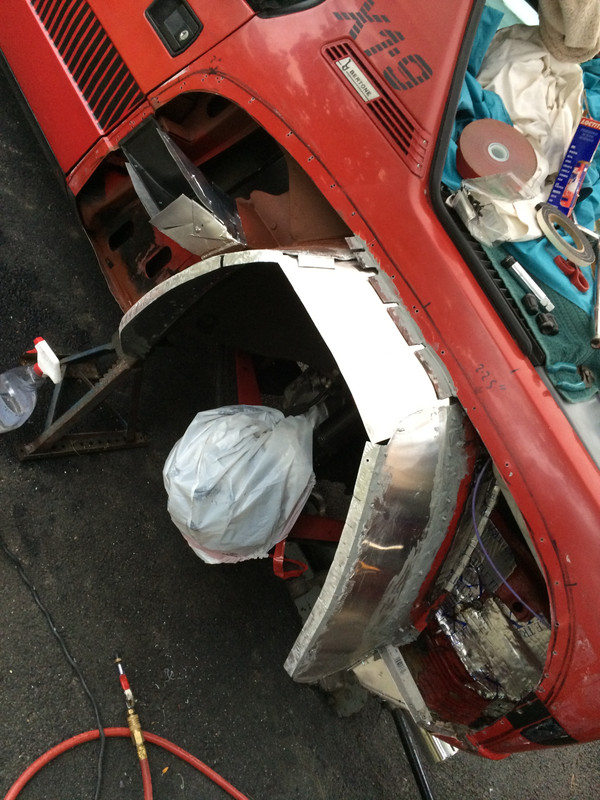
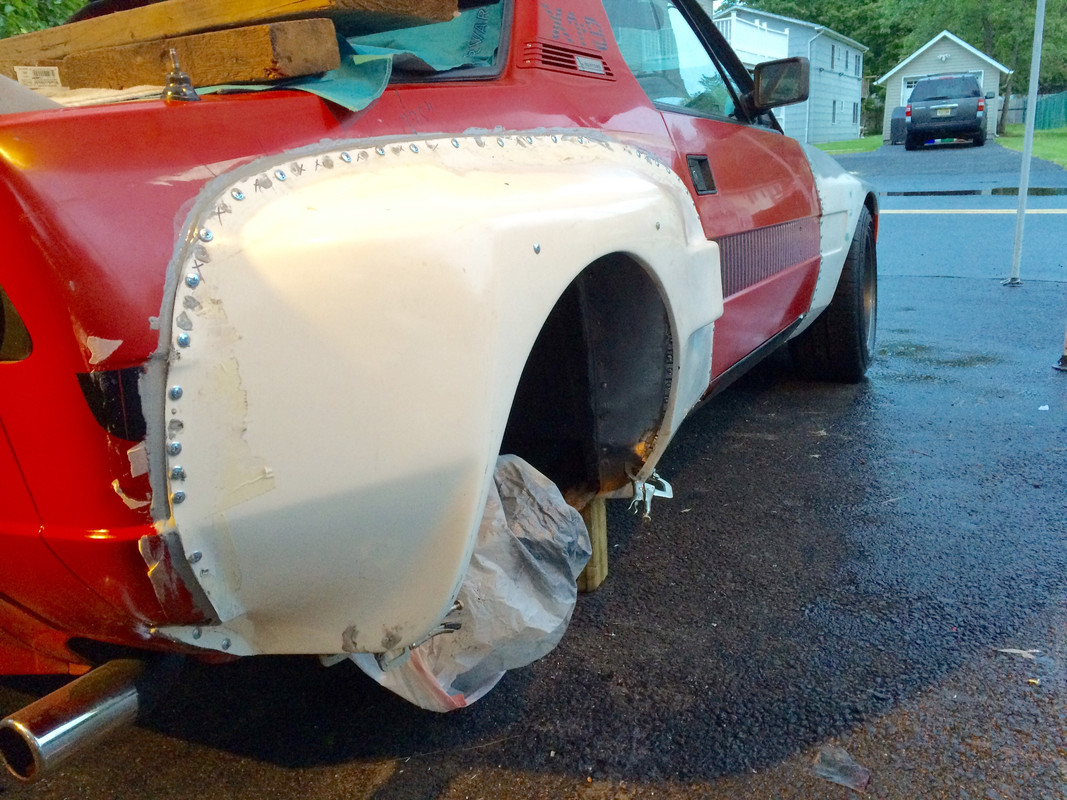
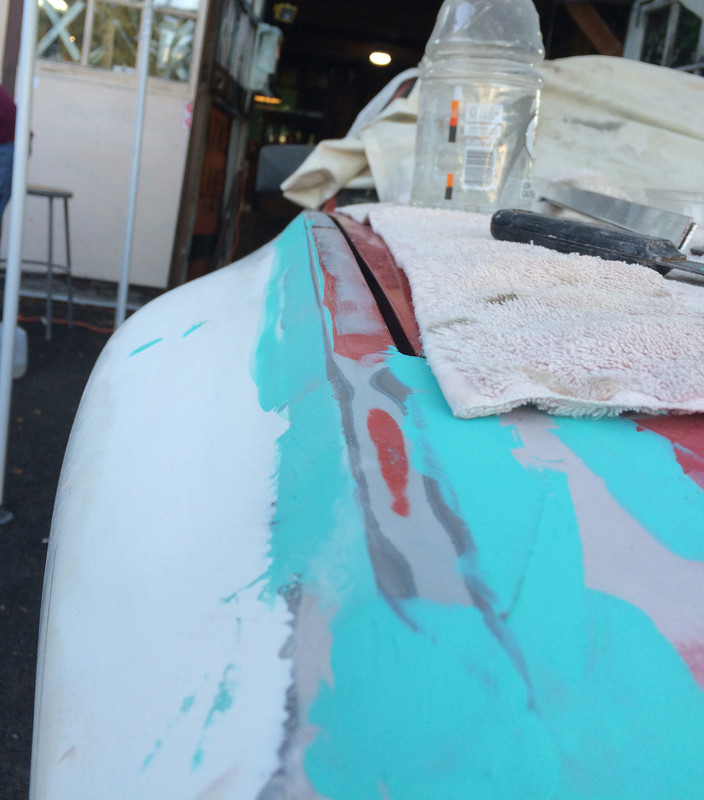
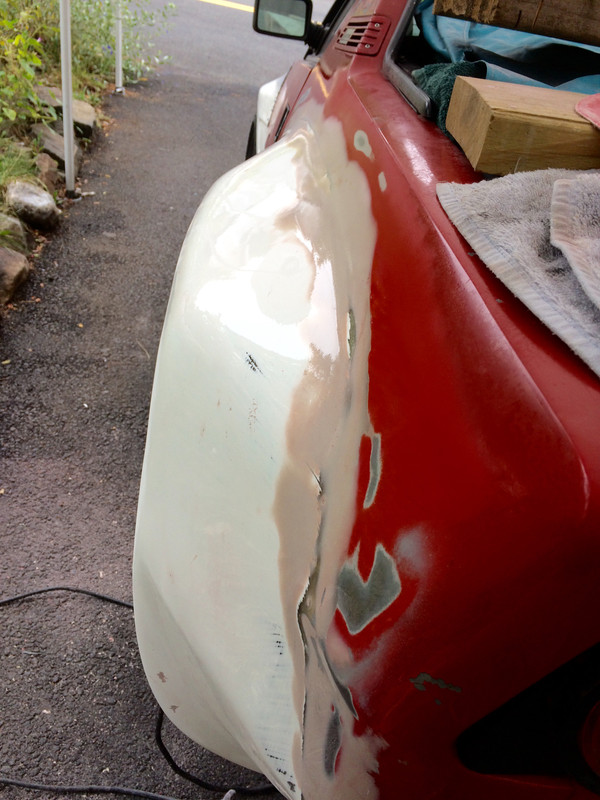
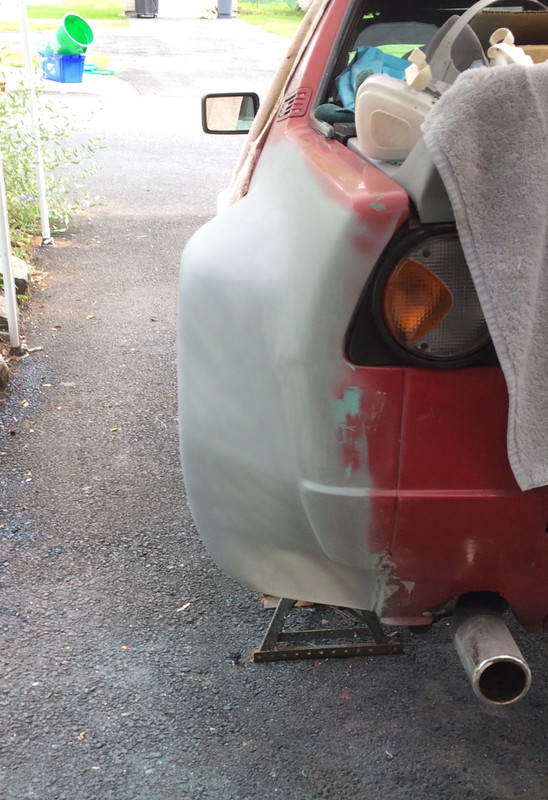
Once the panel was in place, I added the thinner splash shield center section

Dallara_Wheel_Arches00043.jpg


Dallara_Wheel_Arches00033.jpg


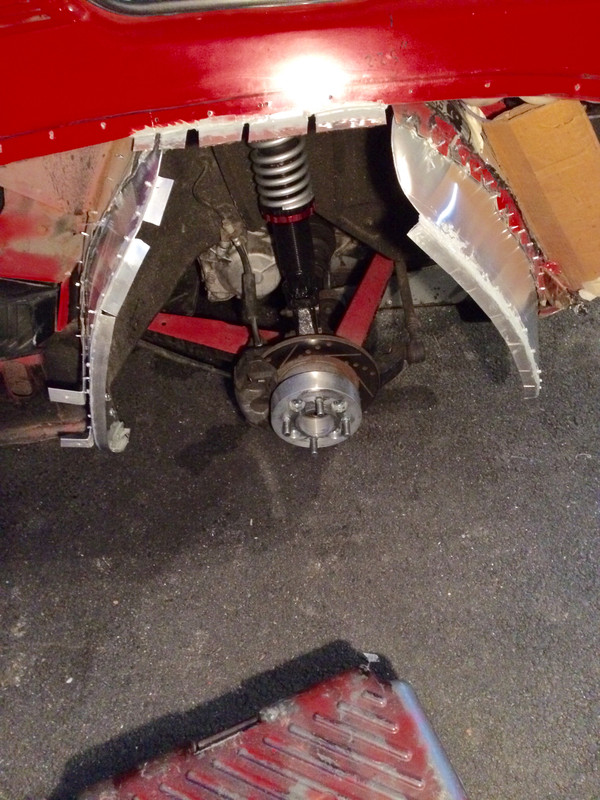
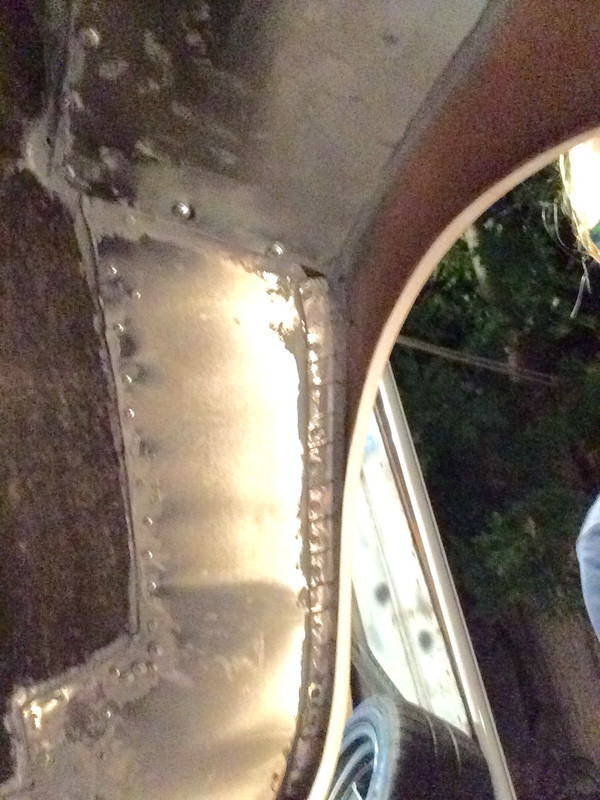
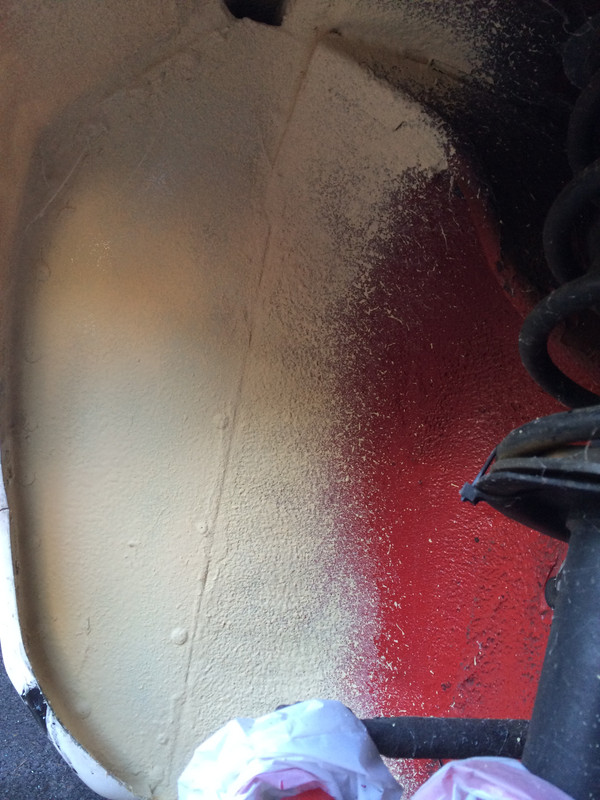
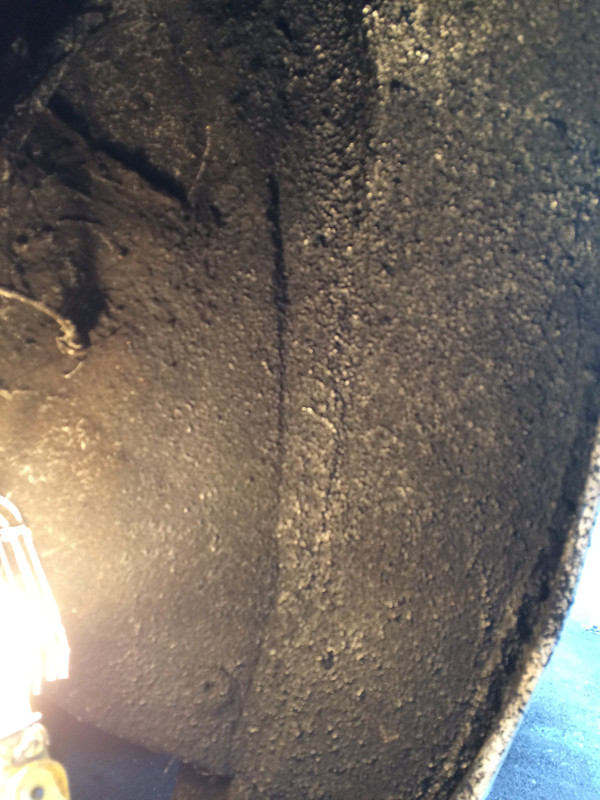
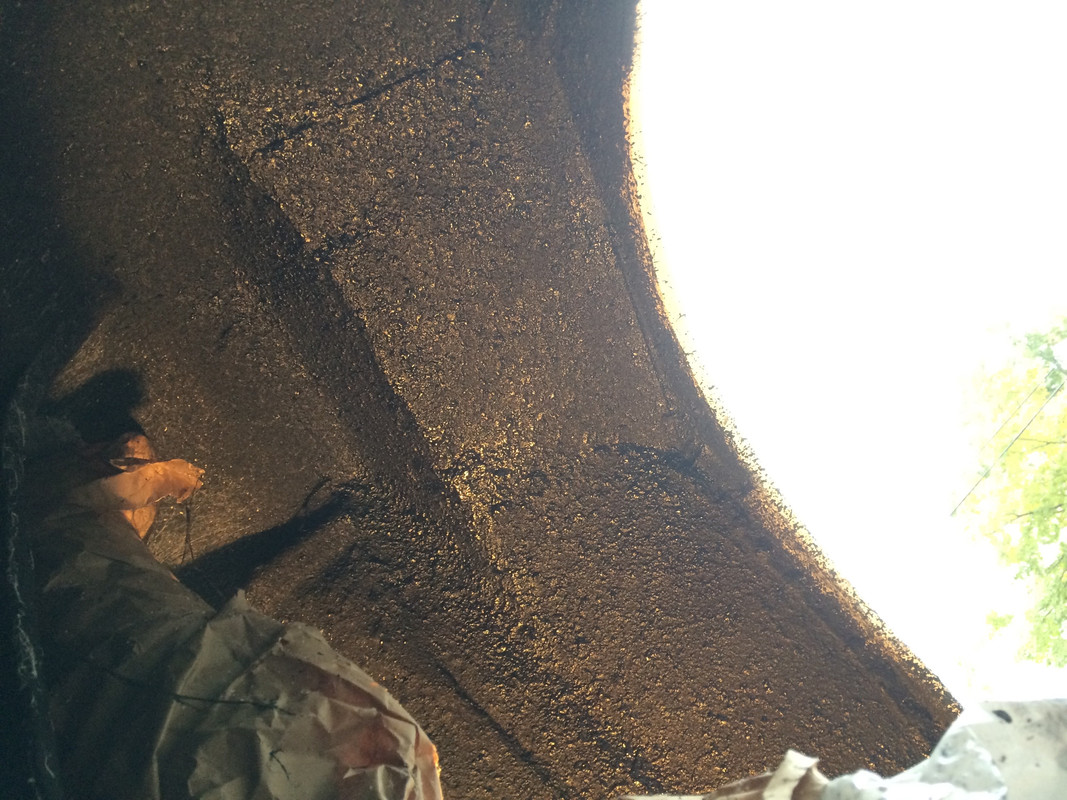
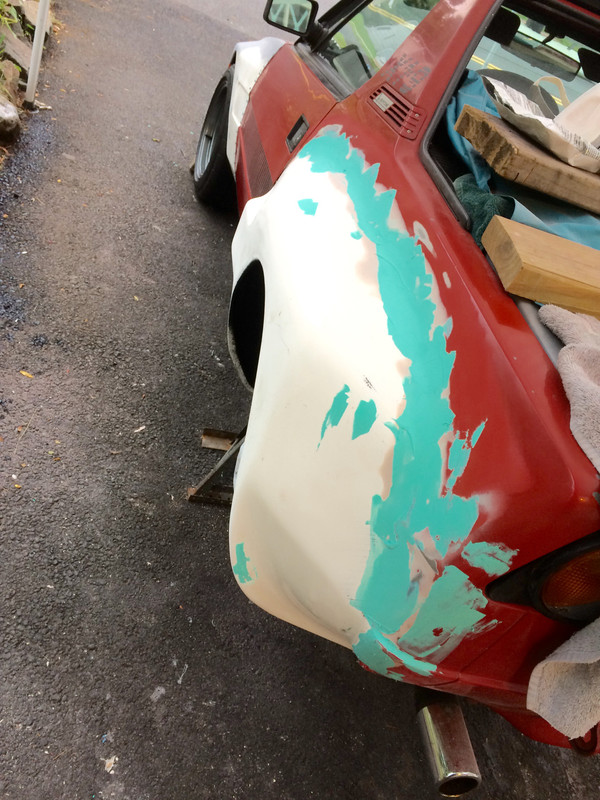
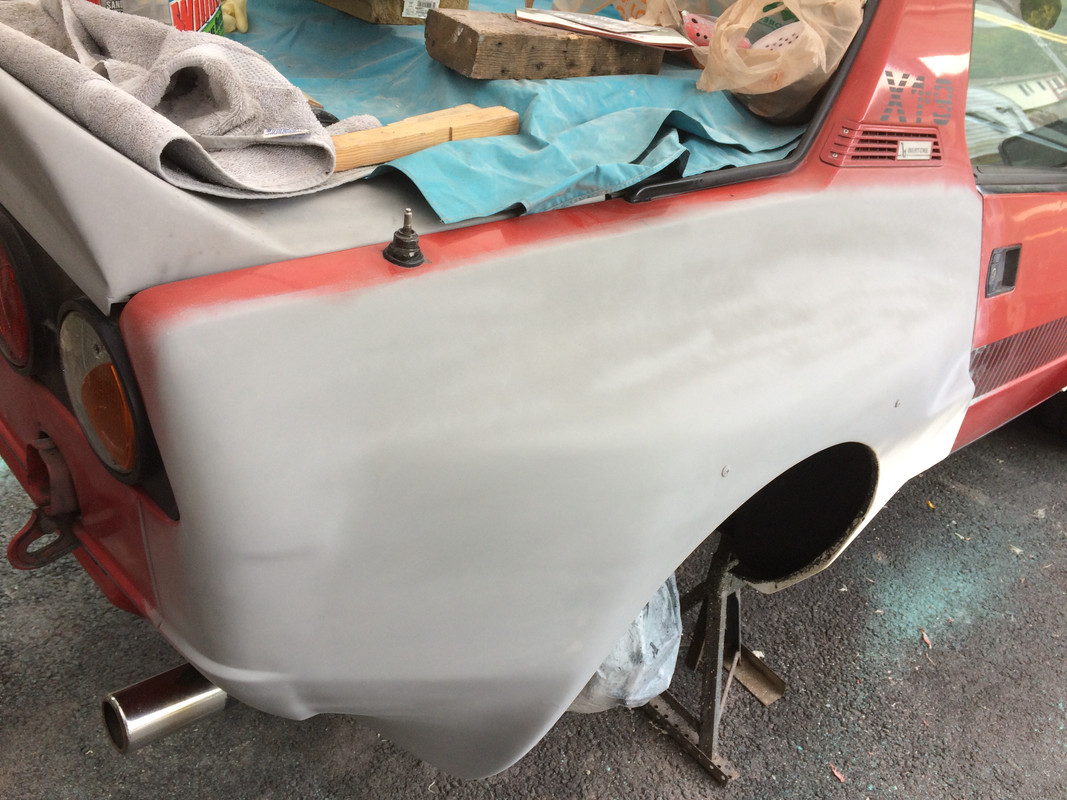
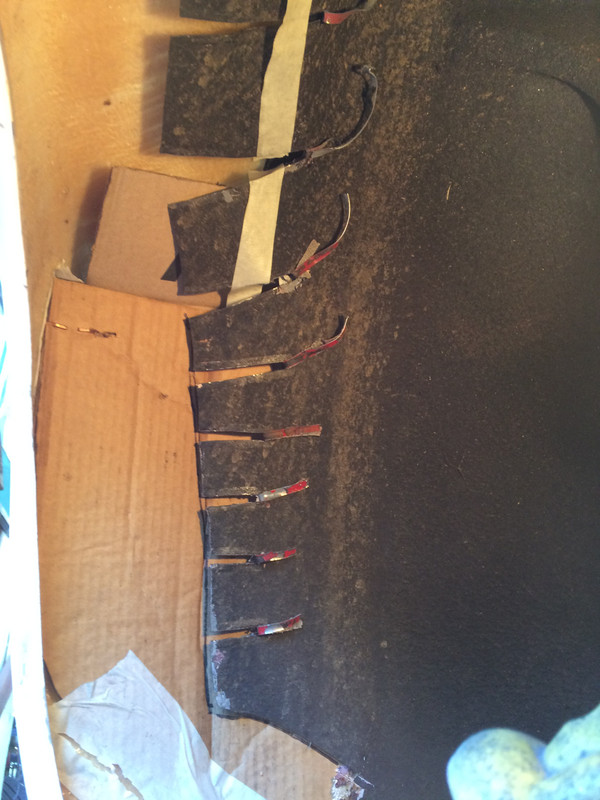
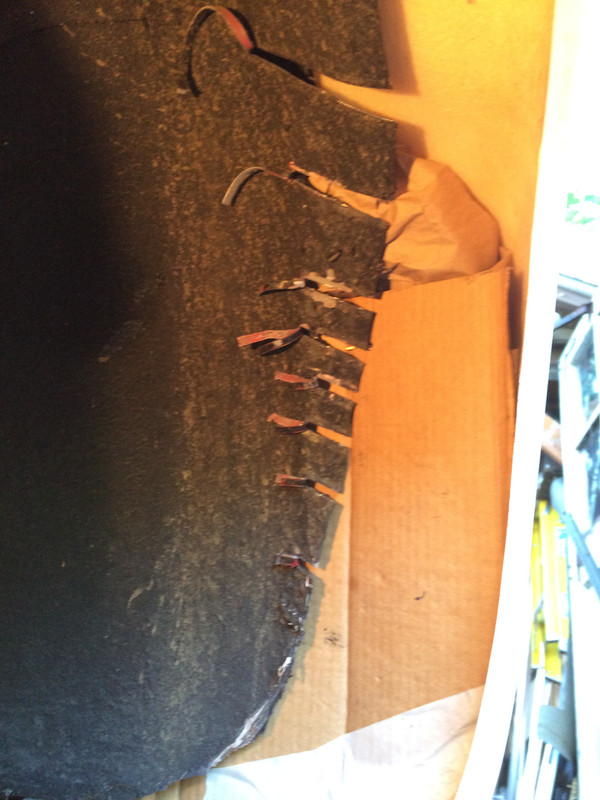
Inner rear section needs seaming & cleanup

DallaraWheelArches00015.jpg


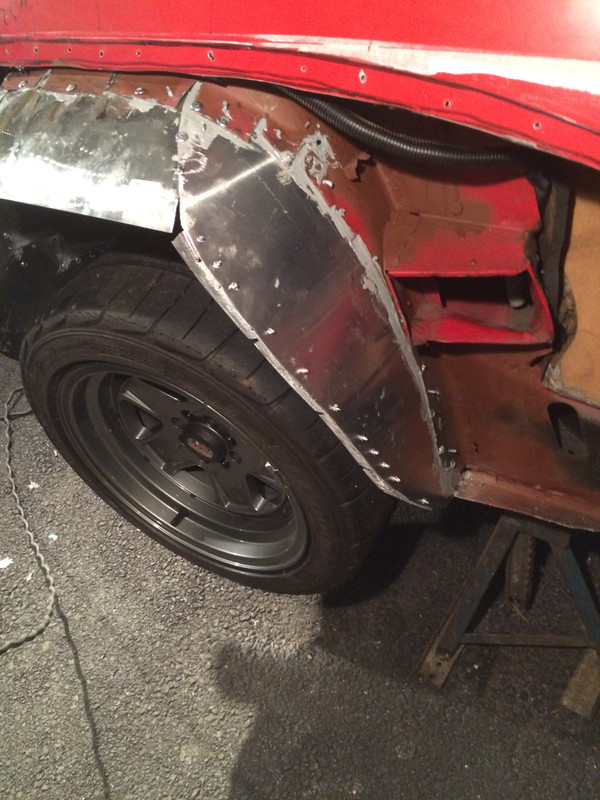
Now I just need to repeat the process for the pass side...
 
Last edited:
Took about 4 hours on it today & got the right side inner sections positioned, the angle reinforcements placed, and then bonded the inner sections to the original sheet metal. Made the small tie plate for the quarter panel as well. Got the forward inner panels cleaned up & primed as well.

Just have to bond the edge reinforcements to the inner sections tomorrow, work on the air intake duct, and then get the right fender bonded. Hoping this will all happen before the impending bad weather hits..


Dallara_Wheel_Arches00051.jpg


Dallara_Wheel_Arches00020.jpg
 
Last edited:
You mean like winter????��

Well, there is that... However I was referring to the more immediate several days of heavy rain and cold in the forecast.

Rain started in ernest this morning, and was getting colder by the hour by the time I got home from work around 3. Glad I picked up this canopy - at least I can stay semi - dry

Prepped the quarter panel (not shown) for the panel install & got it bonded by around 5:30.

Dallara_Rear_Fender00023j.jpg

Alignment is not perfect of course - the tie ins in the fiberglass panel to the quarter ridges will need cutting back for better alignment to minimize filler work
Dallara_Rear_Fender00018.jpg


Added flanges to the air duct like the driver's side

Dallara_Rear_Fender00023n.jpg


At least all the bonding is out the way, if the weather permits I will work on the blending over the weekend.
 
Last edited:
Got the inner support caulking done today.

Dallara_Wheel_Arches00026.jpg


and made a start on blending the drivers fender

DallaraFrontFender00033.jpg


Dallara_Front_Fender00035.jpg


Cut this one back to tie into the sheet metal contours

DallaraFrontFender00032.jpg


Dallara_Front_Fender00034.jpg
 
Last edited:
Did the 3M body schutz treatment yesterday as well

DallaraWheelArches00009.jpg


- so today I did the (3M rocker schutz) undercoat

Dallara_Wheel_Arches00047.jpg


Dallara_Wheel_Arches00041.jpg


started sanding the filler on the drivers' side top & back

DallaraRearFender00025.jpg


looks pretty good - but won't know until I get some primer on it

Dallara_Rear_Fender00028.jpg


slapped some spot putty on it - I don't like the acrylic version - it's a PITA to apply

Dallara_Rear_Fender00051.jpg


cut back the passenger side top & got a skim of bondo on it.
 
Last edited:
Got a decent amount done today. Both fender tops blended.

DallaraRearFender00025.jpg


DallaraRearFender00028.jpg


Dallara_Rear_Fender00023k.jpg


look pretty straight.

Dallara_Rear_Fender00041.jpg


Dallara_Rear_Fender00048.jpg


Back needs a bunch of attention. Need to fill the vertical seams and decide how to finish the tail lamp surround into the 1/4. I will likely need to paint the tail lamp area that is black, red. The area below will be yellow/orange as part of the Dallara wrap around decal so I don't think I can keep it black.

Dallara_Rear00007.jpg


EDIT: Rachel's rear section detail

Screen_Shot_2016-10-04_at_8.29.49_AM.png


detail of rear decal wrap around (Autobelle.it)

Screen_Shot_2016-10-04_at_8.35.06_AM.png


This is what the rear panel with Hella lights looked like originally when it was red - if I revert to that, the light panel needs revision & the accents need to be fully painted, not just the face surface

X19_0824.jpg


Cut off the bumper extensions and filled them

Dallara_Rear00003.jpg


What needs resolving is the tie ins from the fender to the rear sheet metal -not feeling the little bump out from the rear panel into the quarter, so I need to figure out a good way to blend that and keep the ridge, getting rid of the dip below it on both sides

Dallara_Rear_Fender00053.jpg


DallaraRear000009.jpg
 
Last edited:
Great updates

Nice to come back from a short vacation and see all the work you've done. Style-wise in my opinion, I really like the blacked taillight panel. If you maintain the body color on the spoiler it should balance the decals nicely. Kind of wish the shoulders of the spoiler would sustain the arched lines of the tailpanel. Either that or have the spoiler ends extend over and to the fender line.
 
Just curious, I missed it if you mentioned it already...

Did you bond the panel to clean/scuffed sheet metal or over the paint and what did you use?
 
Interesting, so different to the complete GRP fender on mine, your arch flares leave that little bump around the rear quarter. I don't think it looks too bad though.
 
Nice to come back from a short vacation and see all the work you've done. Style-wise in my opinion, I really like the blacked taillight panel. If you maintain the body color on the spoiler it should balance the decals nicely. Kind of wish the shoulders of the spoiler would sustain the arched lines of the tailpanel. Either that or have the spoiler ends extend over and to the fender line.

Yes, I think you are right, once the spoiler is painted, the black out section should be ok. I'm going to paint the lower grille red as well, so that should help it all flow together.

I was thinking today about maybe fabricating tips for the fenders to tie with the spoiler

EDIT: I think I should add to the spoiler, rather than the fender tip, or it will be harder to align
 
Last edited:
Back
Top